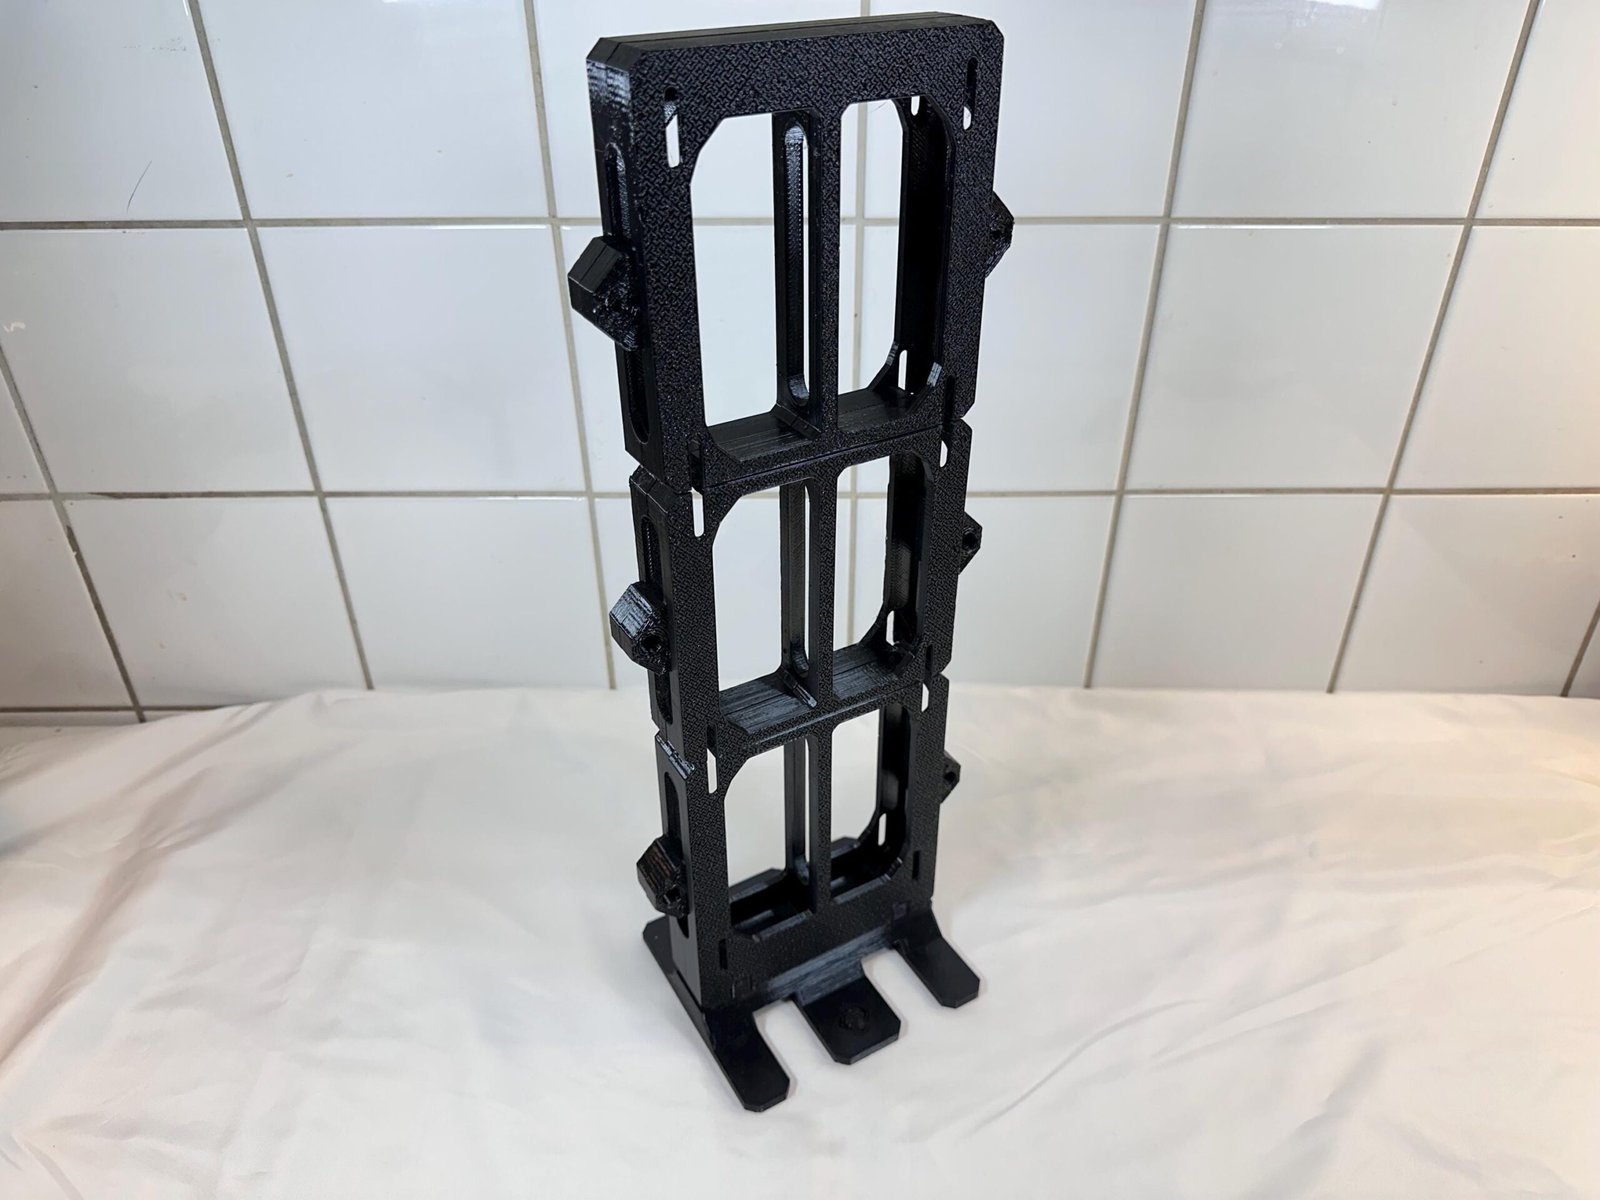
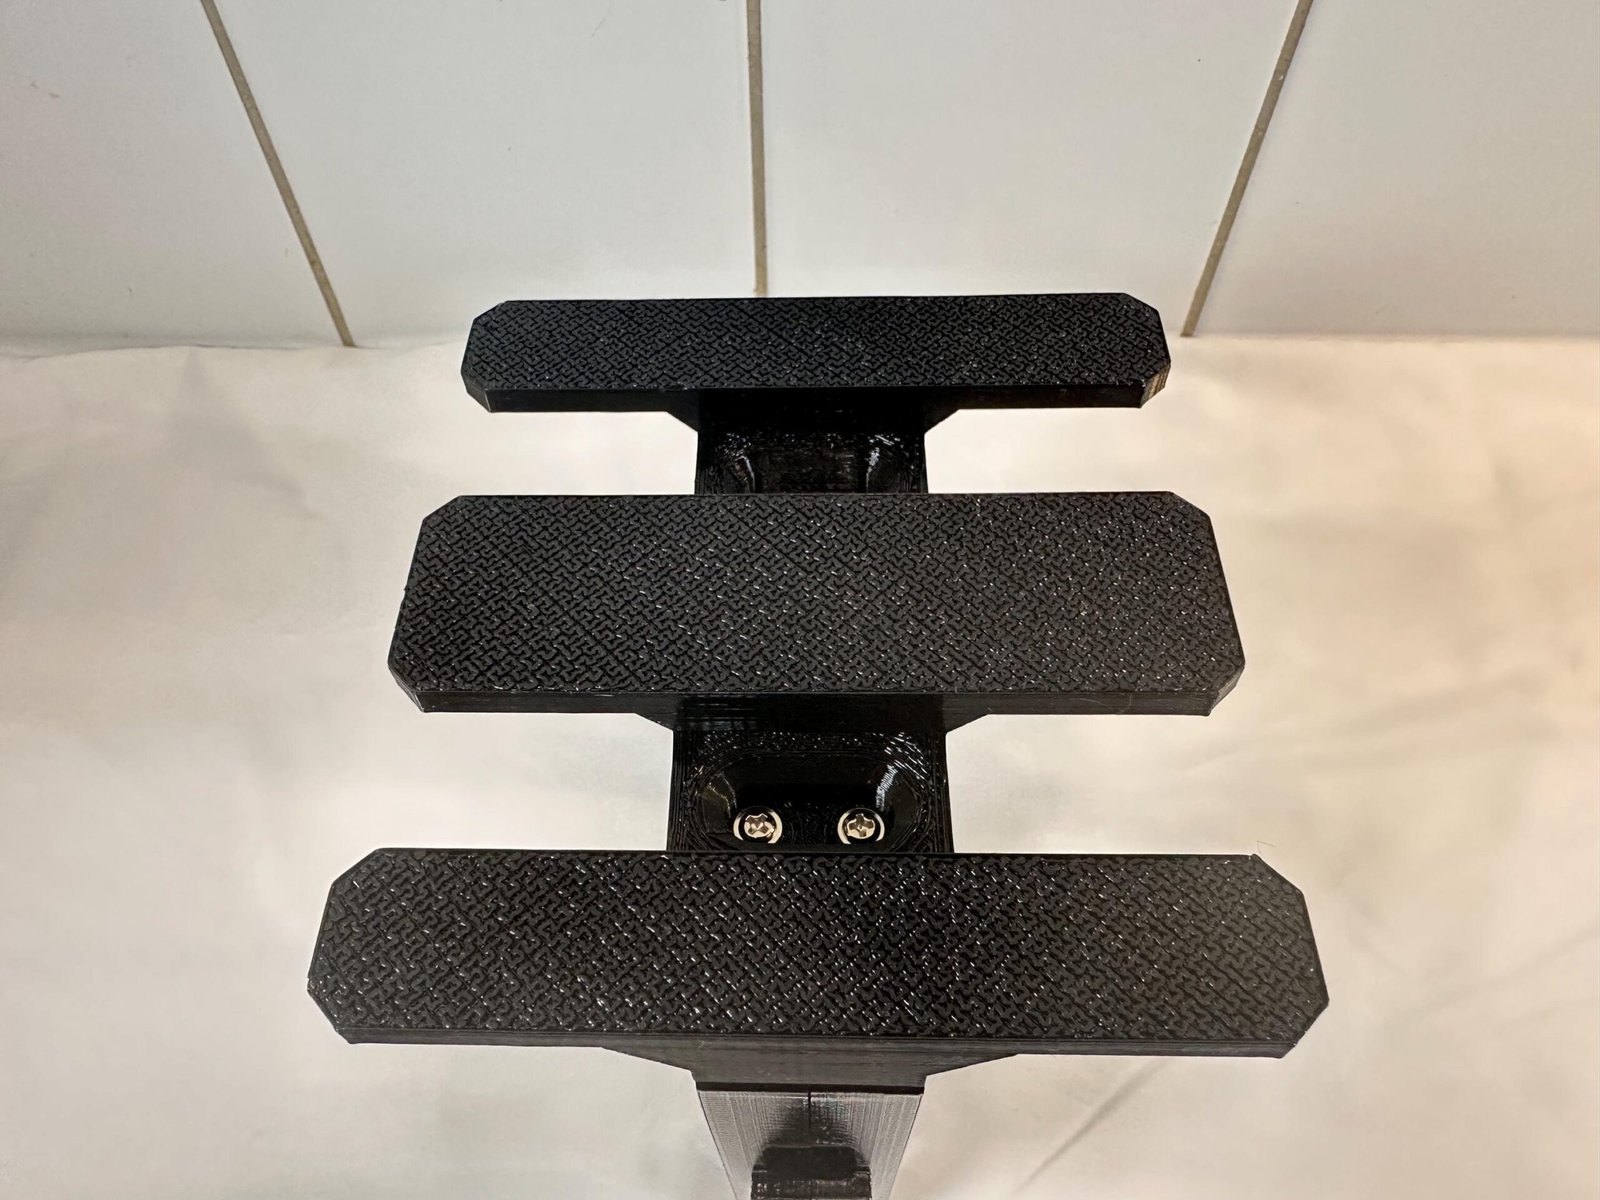
A clear, visual guide for assembling the frame and installing the primary PC components of the Dual Water Cooling Radiator Stand.
6-10x M3 Screws (Depending on model)
Use a clean, flat work surface.
Install Radiators
Secure sections
Install foot
Final check
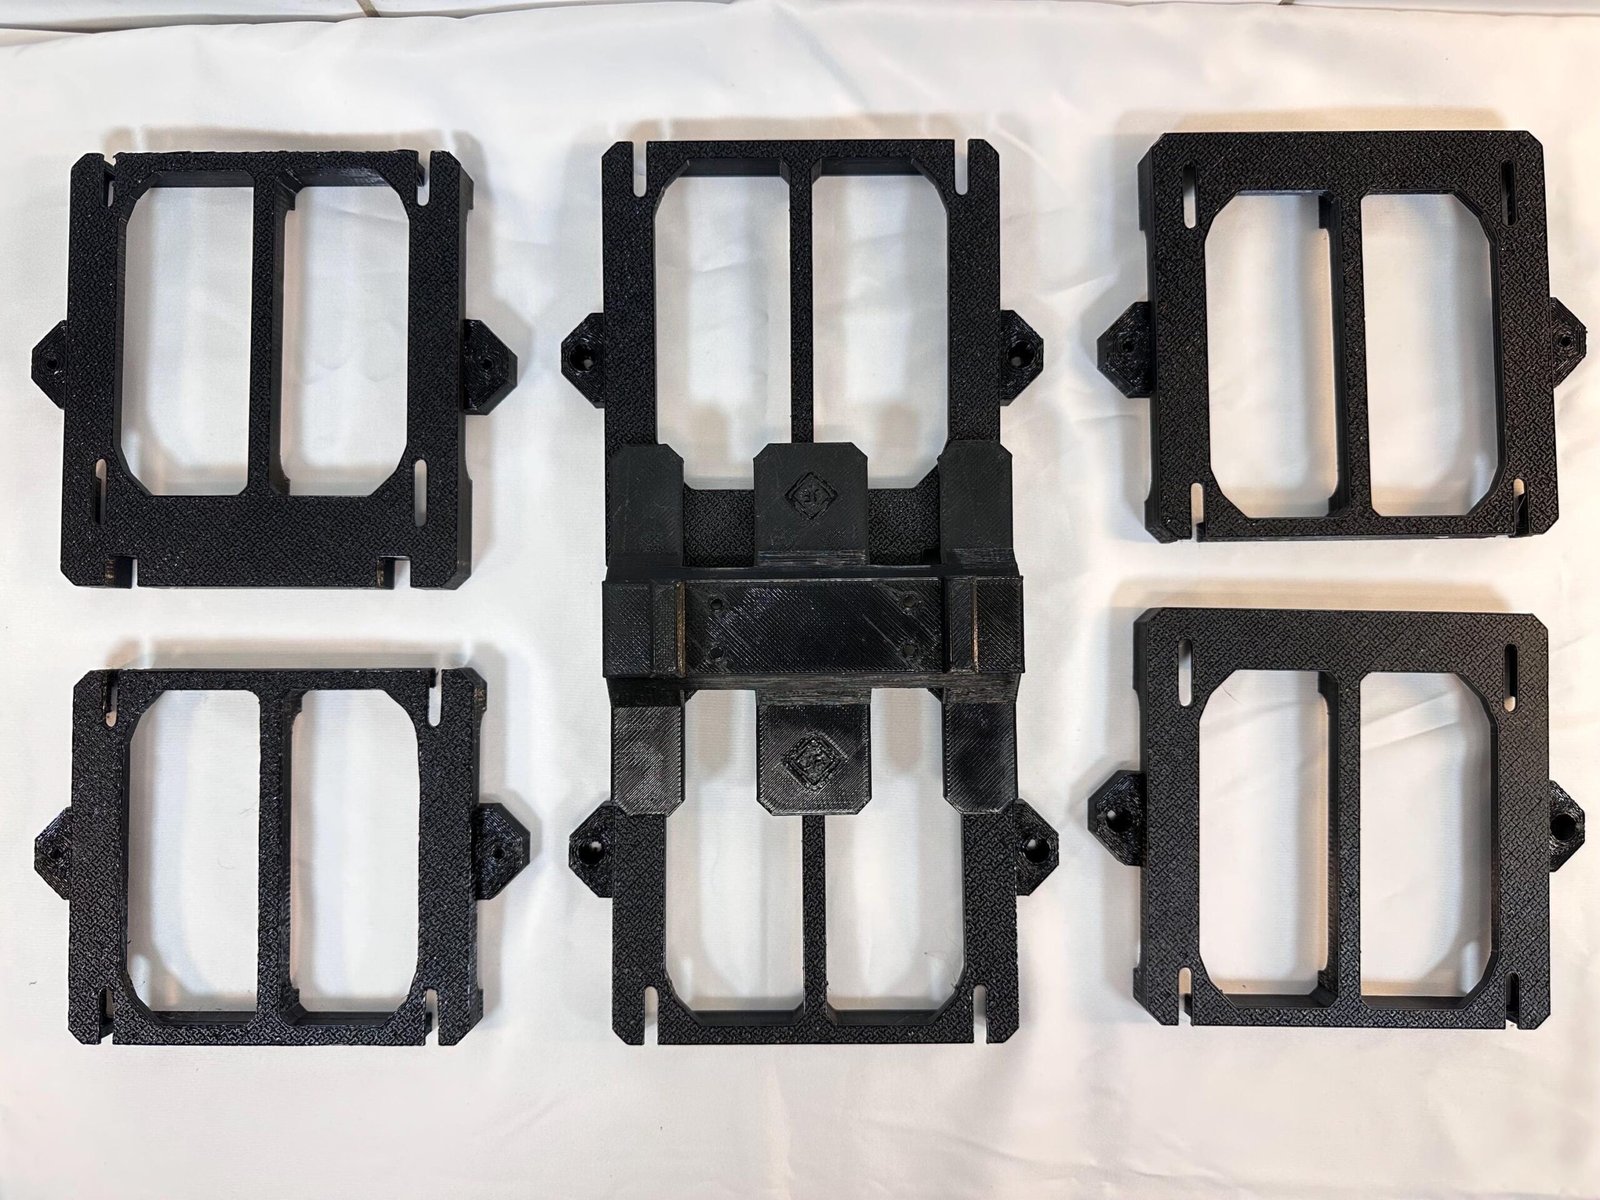
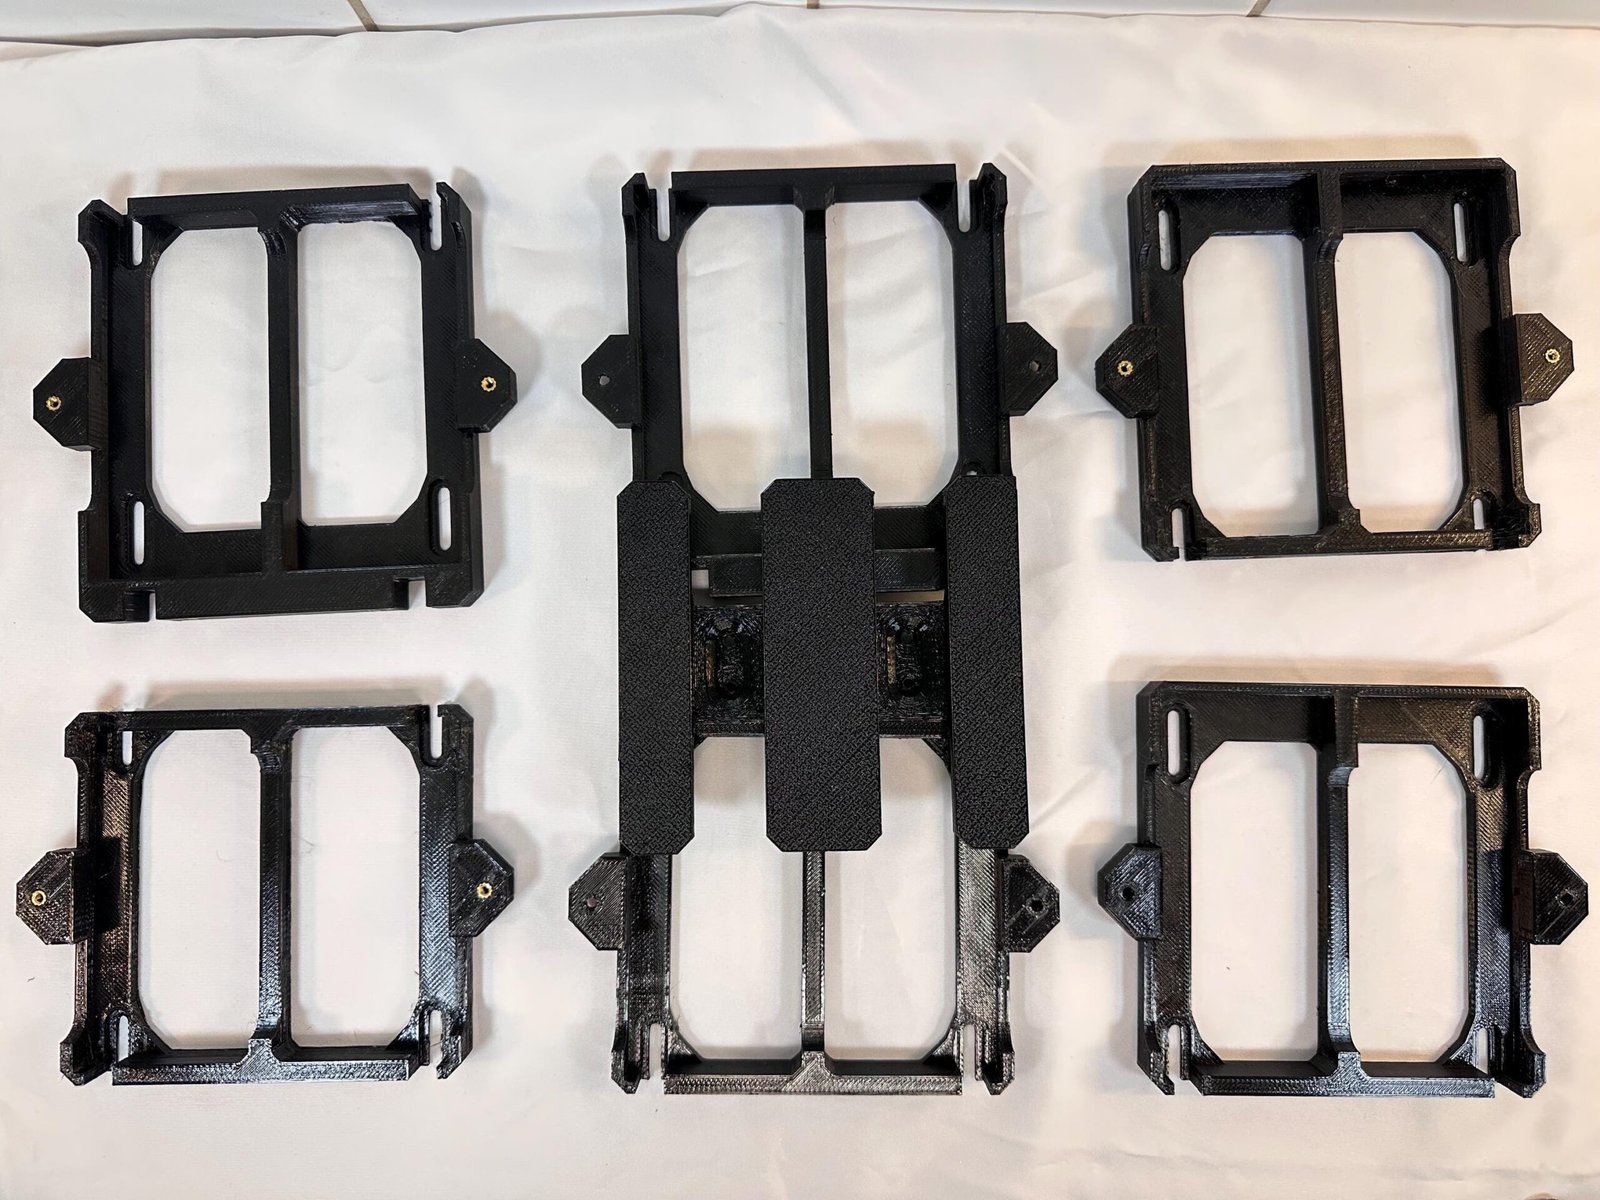
Lay out the frame sections, motherboard tray, support arms and brackets before starting.
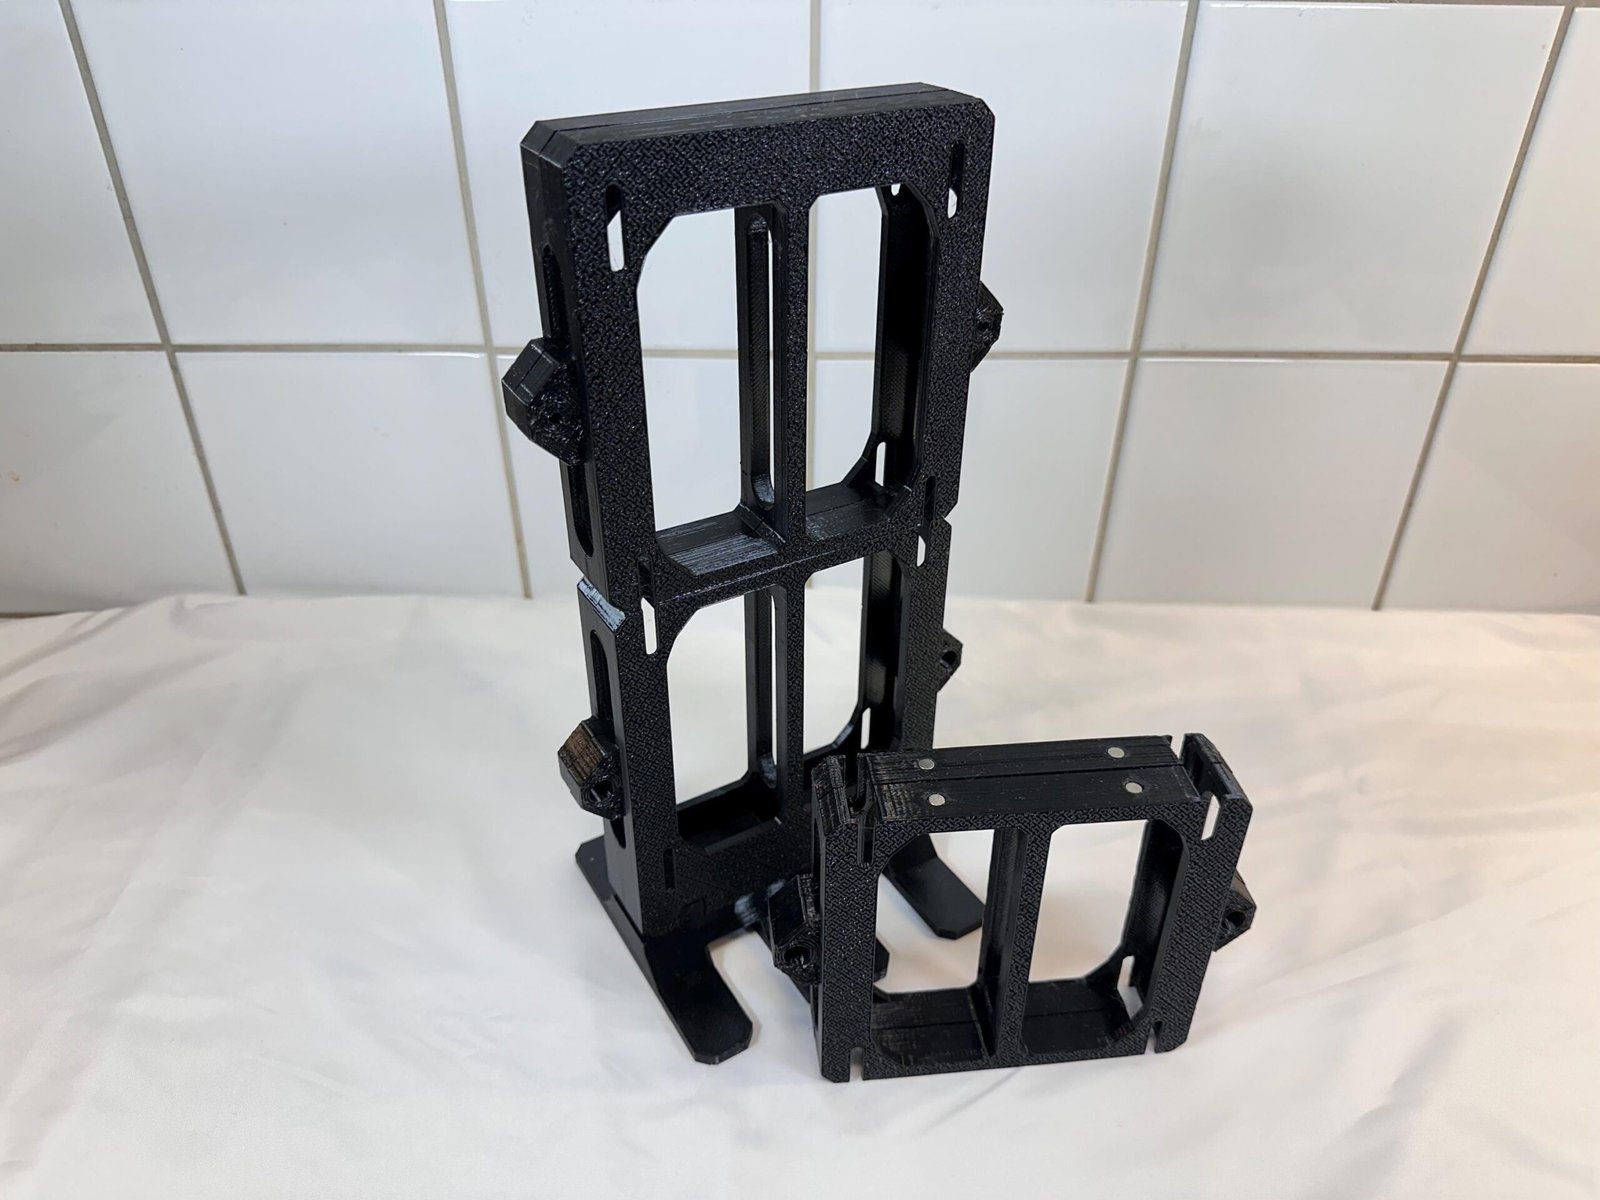
The stand is comprised of different modules:
(The number of modules varies depending on the model)
M4 screws (Not included)
Place your water cooling radiator on a flat surface with the fans facing downwards.
4-6× M3 screws
Frontal sections are identified by the screw holes on each side of said section. The backend sections have inserts in them instead.
4x M3 screws
The foot is secured from the bottom. It’s recommended that you place the stand on it’s upside or best access.
Is the instruction wrong or misleading? Perhaps you have a suggestion? We’d be delighted to hear from you regardless!
Contact us using the form at our Contact page.
Reach out to us by sending us an email.
Your cart is currently empty!
Notifications