Assembly Instructions
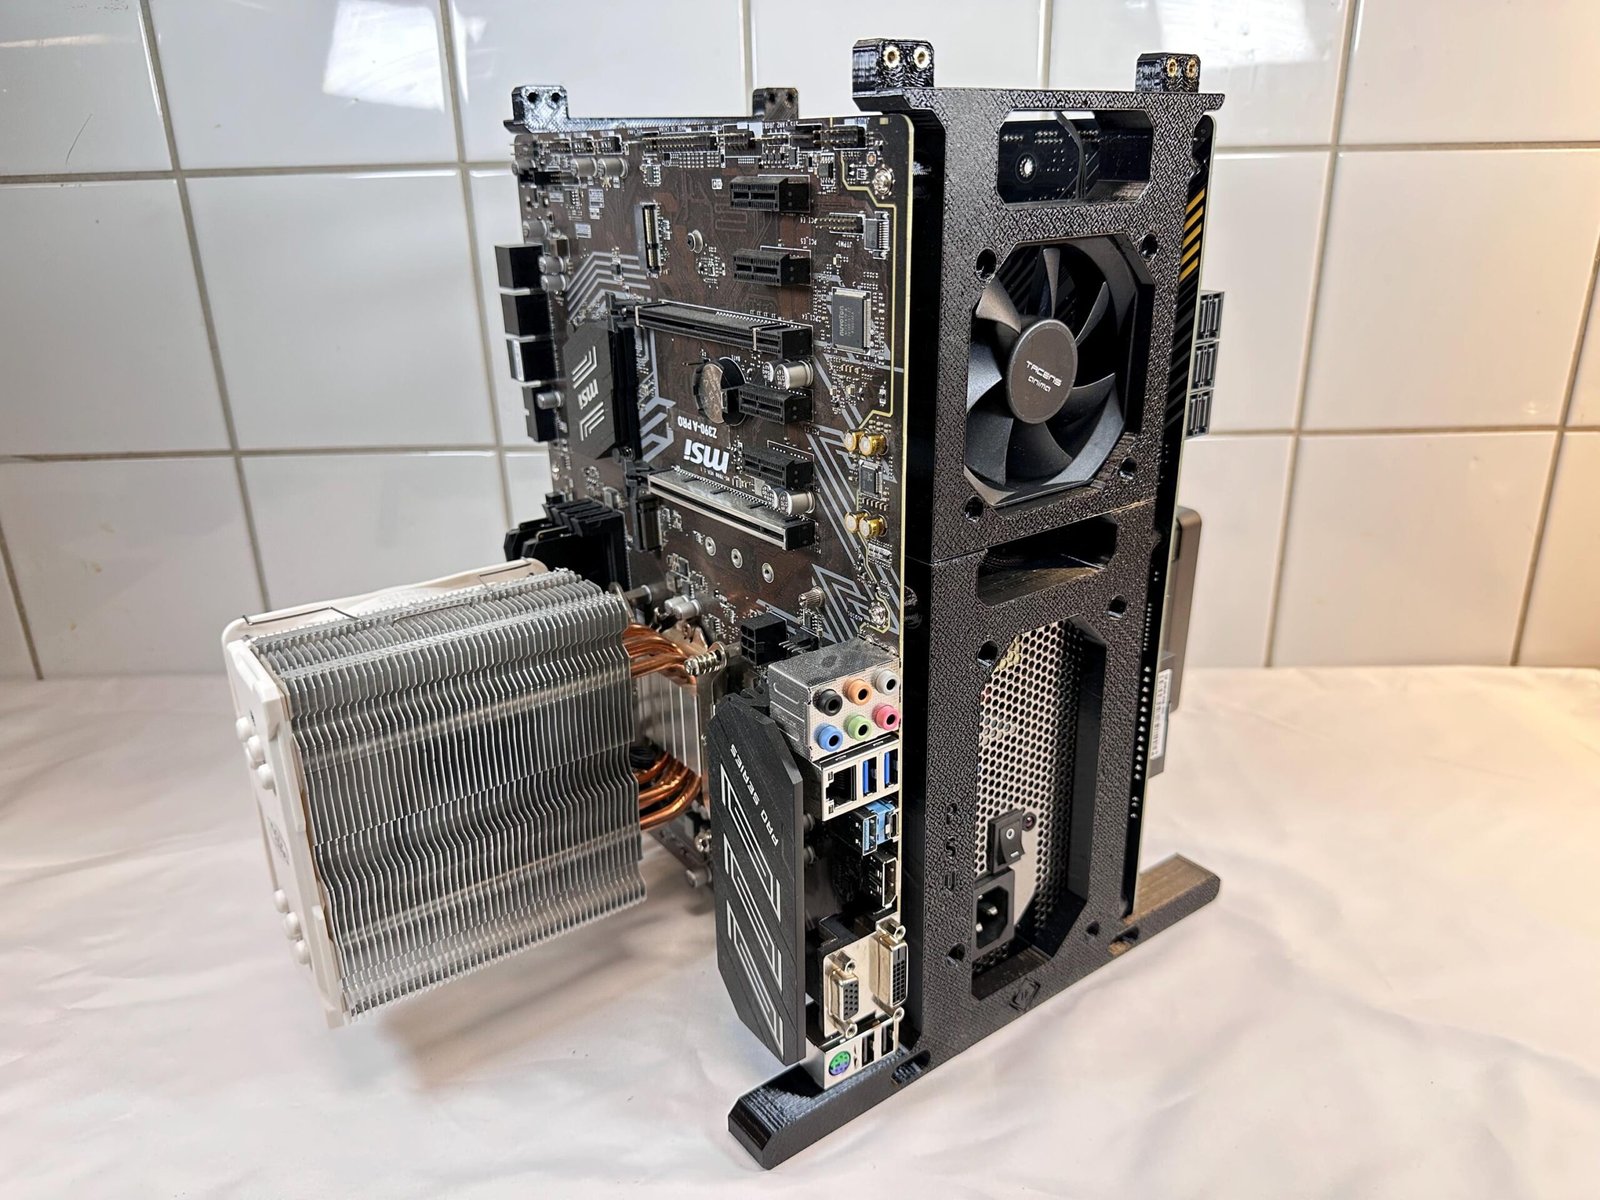
Dual Vertical Motherboard Stand
This guide explains how to assemble the Dual Vertical Motherboard Stand.
Important: This product only includes the frame components and mounting hardware. Computer hardware
such as motherboard, PSU, SSD, GPU and PCIe riser cable are not included.
Included Hardware Quantity
- 26x M3x5 Screws
- 4x 6-32 PSU Screws
Required Tool: Phillips PH1 screwdriver
Assembly Guide
Step 1 – Assemble motherboard legs
Attach 1 x leg extension to each motherboard leg base by using 2 x M3x5 screws on each leg included in the package. Both leg extensions are identical.
Step 2 – Install Motherboards
Place one of the motherboards on the its’ side and use 4x M3x5 screws to fasten your first motherboard to the four standoffs on both legs. Repeat this step with your other motherboard on the other side of the assembly.
Step 3 – Install SSDs
One of the motherboard legs is marked with 2 x SSD-markings to visualize where to mount the SSDs. Place your SSDs on either of their short ends behind the leg, and secure them onto the assembly with 2x M3x5 screws on each SSD from the front.
Step 4 – Install Power switches
Insert the included Power switch into the 2x holes on the same side as the SSDs have been installed.
Step 5 – Install PSU
The opposite side of the SSDs has a mount for your PSU. It is marked with PSU for easier identification. Be sure to use all 4x 6/32 screws provided in the package to secure the PSU tightly.
Step 5 – Install Desktop Fans
Now mount and secure 1 or 2 x 90mm Desktop Fans to the designated slots on each leg. The fans are inserted from the back, and attached with screws from the front.
Final Assembly
Verify that all screws are tightened properly and that cables are routed safely.
Cable management and hardware configuration may vary depending on components used.
Designed & Manufactured by Jzon Fabrications
Last revision date: 2026-05-20