JZON FABRICATIONS · ASSEMBLY GUIDE

6x GPU AI, Crypto Mining Workbench

A clear, visual guide for assembling the frame and installing the primary PC components of the 6x GPU AI, Crypto Mining Workbench.

This guide applies to all 2 variants: ATX & EATX

INCLUDED HARDWARE

57-66x M3 Screws
8x 6-32 PSU screws
1x Power buttons

REQUIRED TOOL

PH1 screwdriver

Use a clean, flat work surface.

TIME & DIFFICULTY

15–30 minutes

Medium

PARTS OVERVIEW

Identify the main components

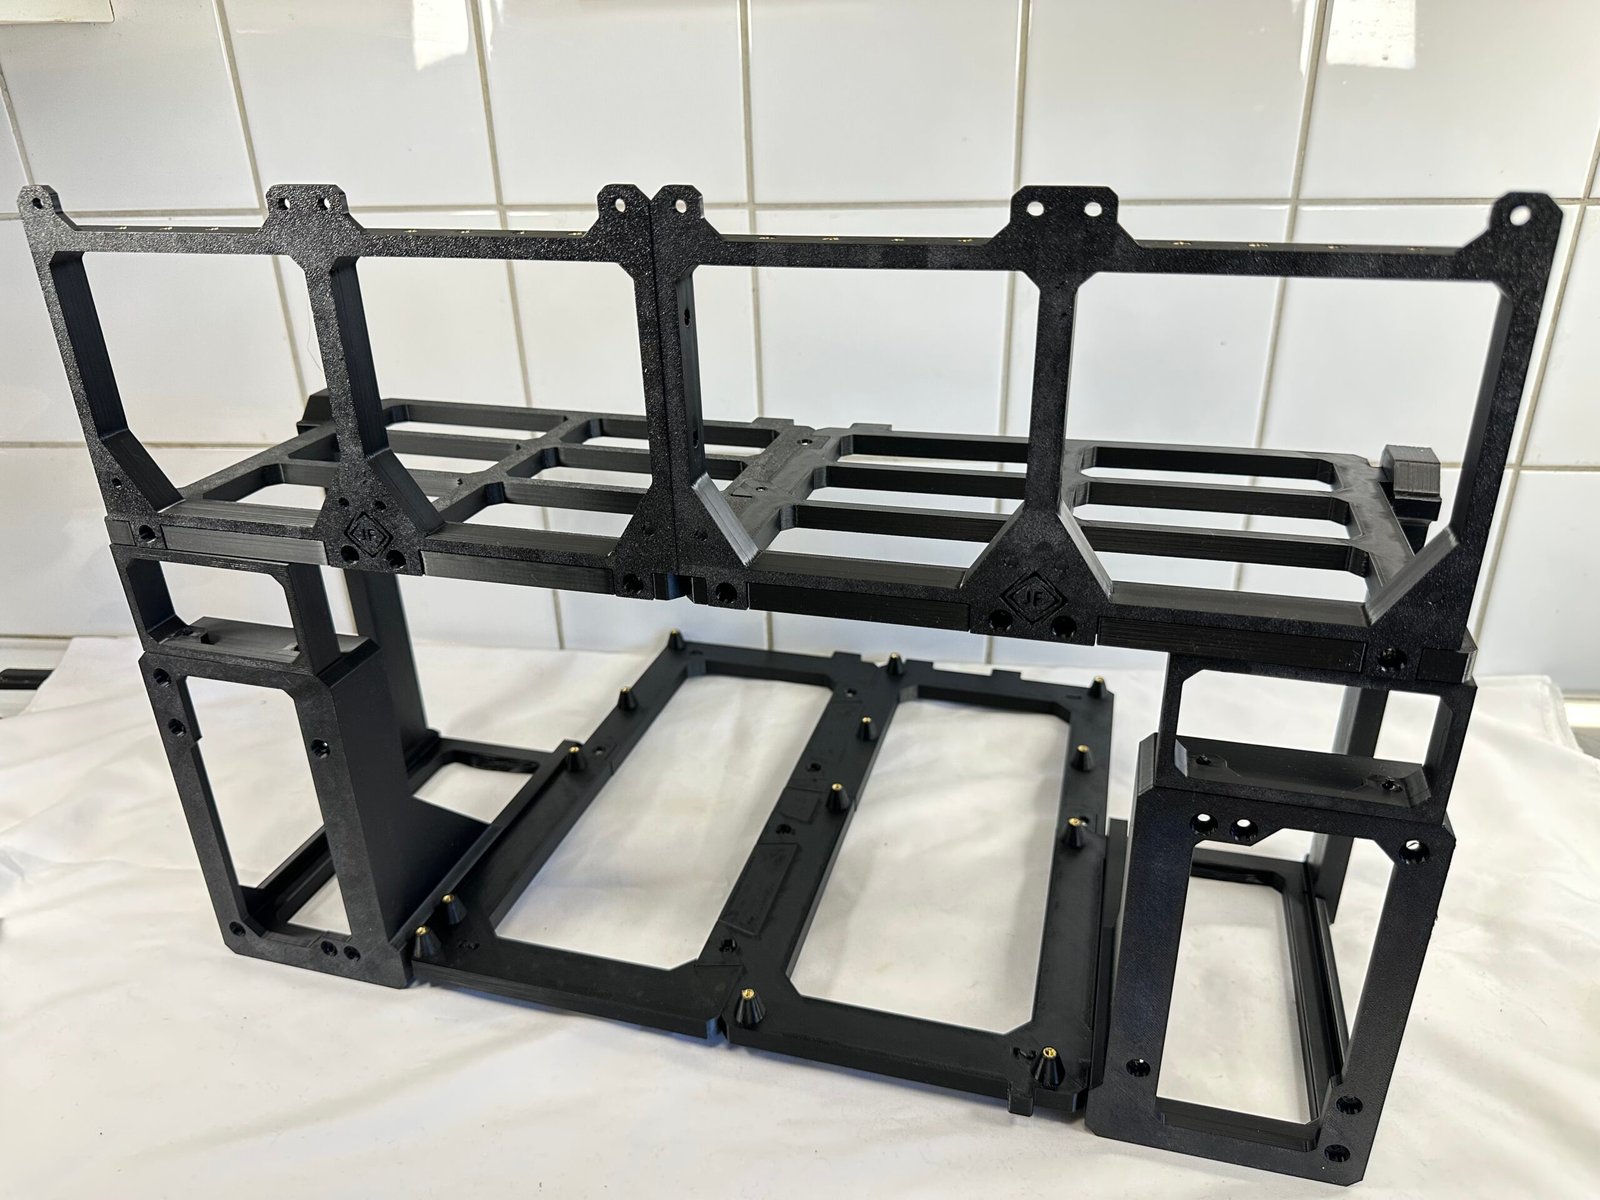
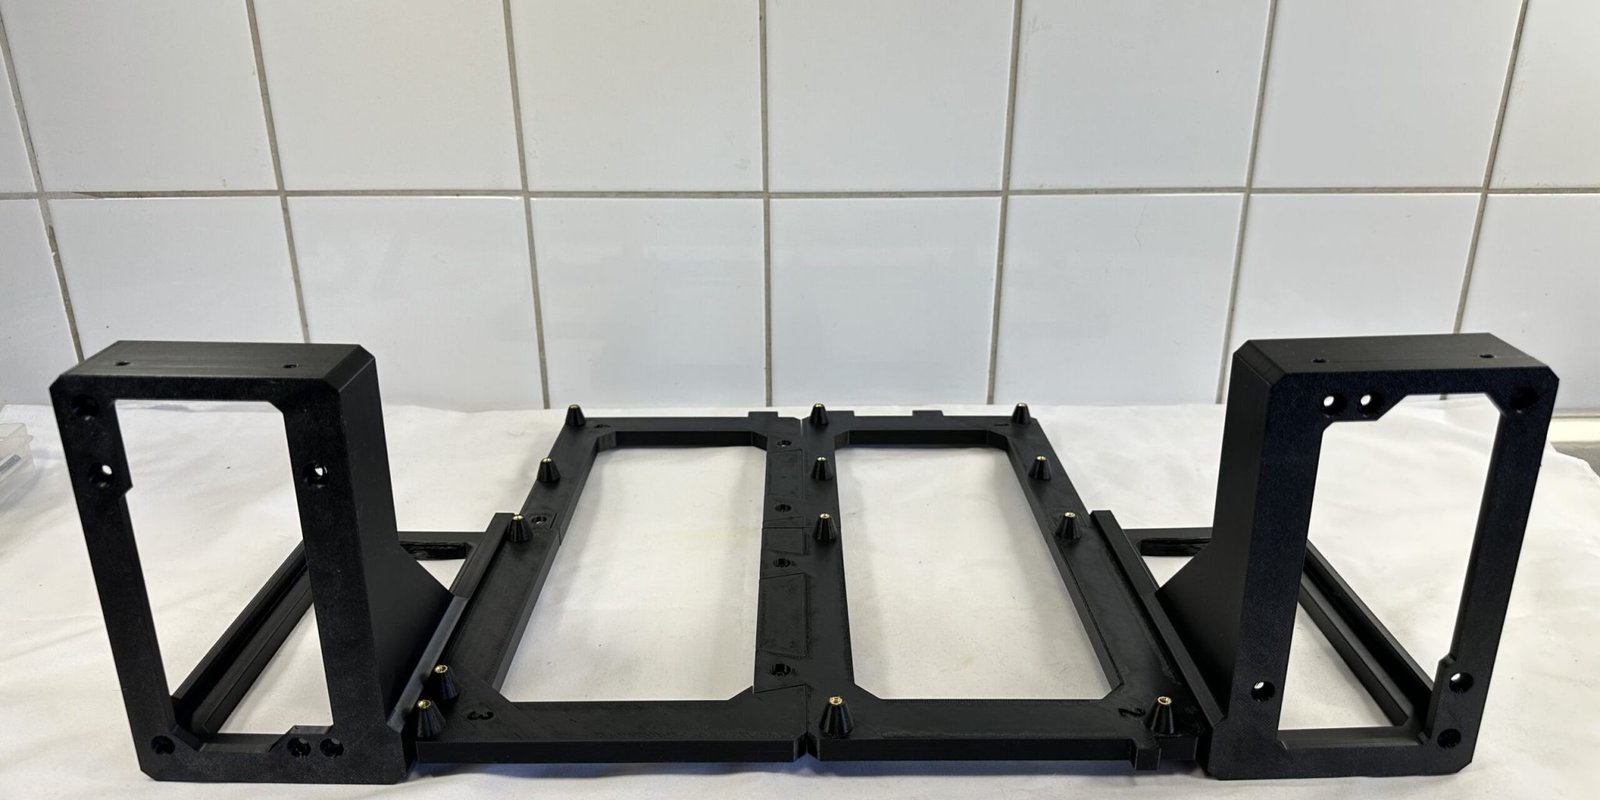
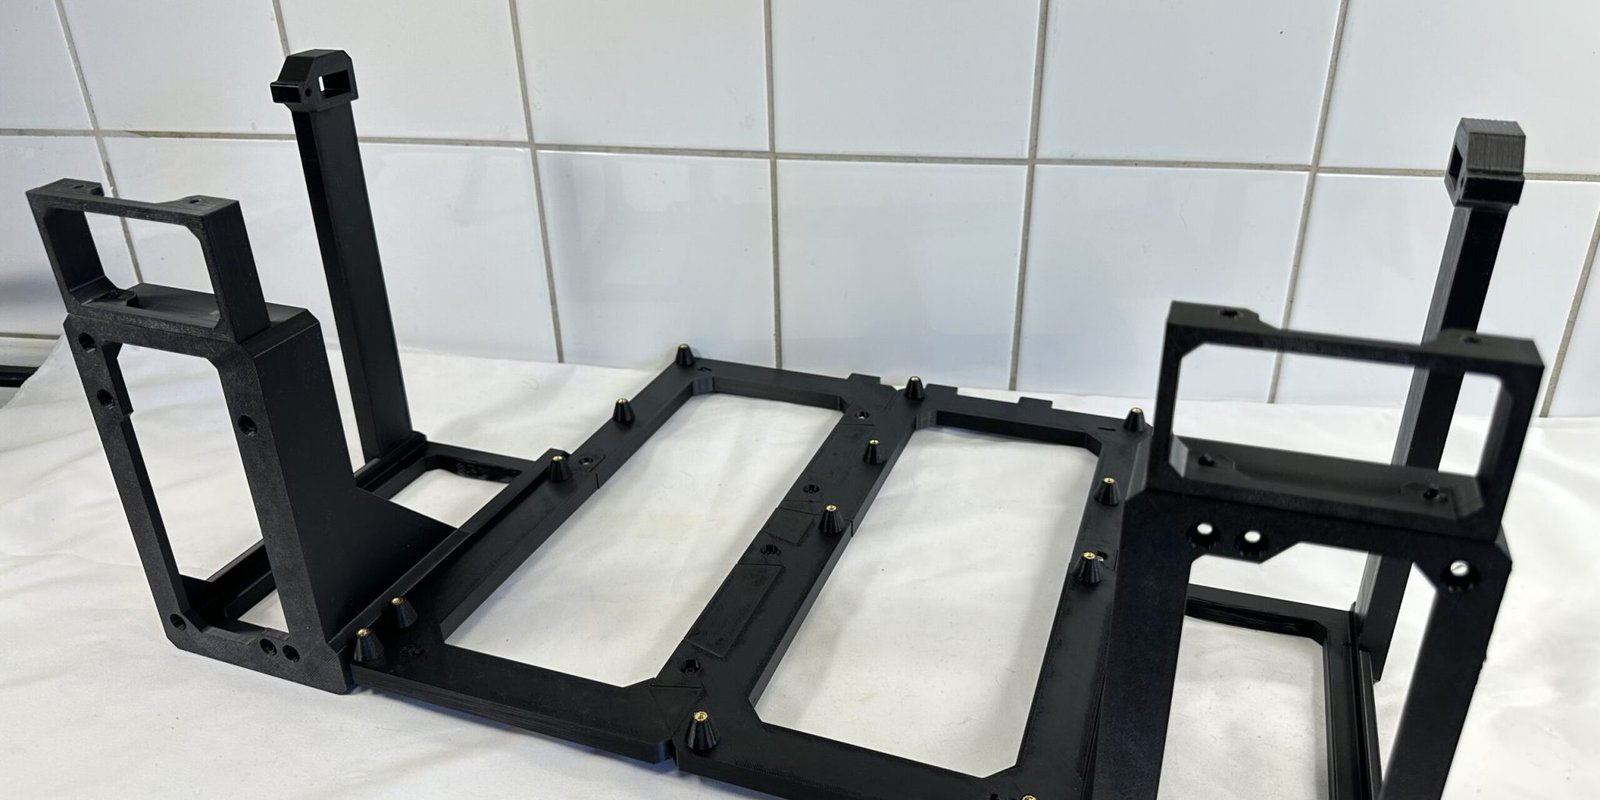
Lay out the frame sections, motherboard tray, support arms and brackets before starting.

ATX variant is comprised of 13x & EATX variant of 14 x main components.

  • 2x Motherboard shelf parts
  • 2x GPU shelf bottom parts
  • 2x GPU shelf top parts
  • 2x Side legs
  • 1x Back leg
  • 1x Back leg bracket (EATX only)
  • 2x PSU mounts
  • 1x Power switch holder
  • 1x SSD mount

1

STEP 1

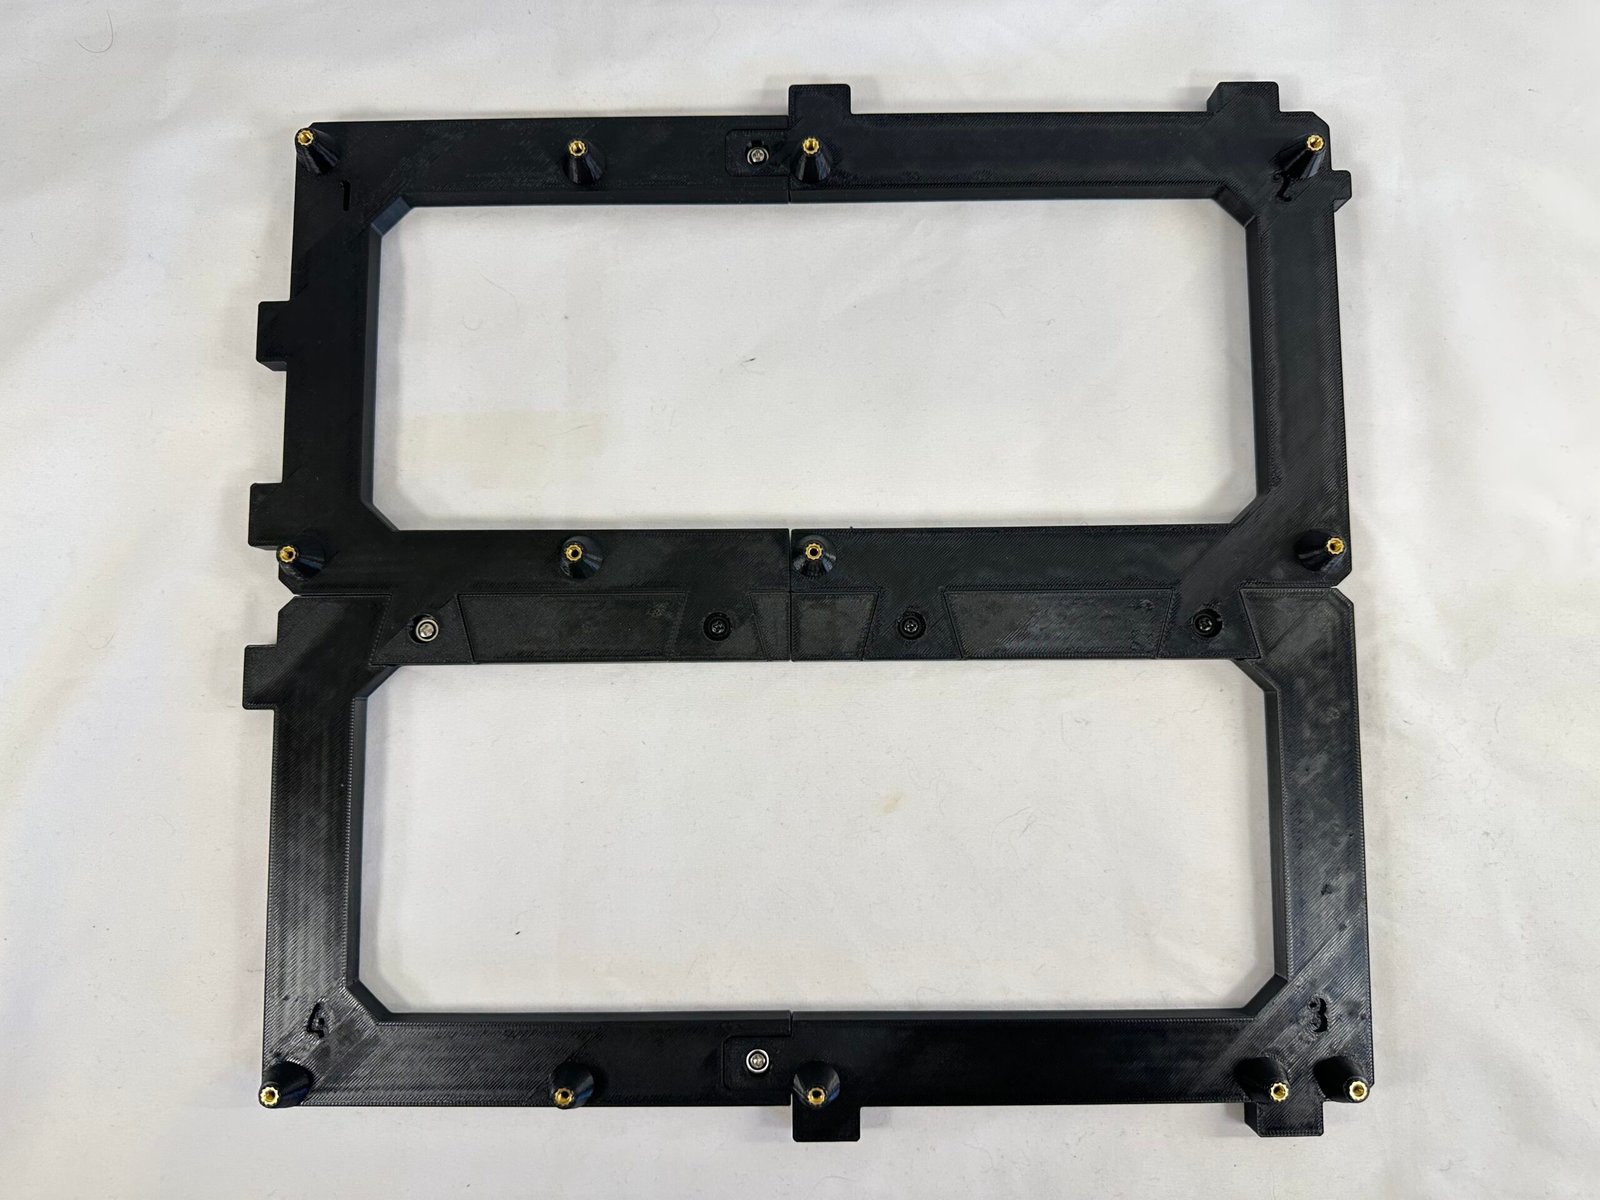
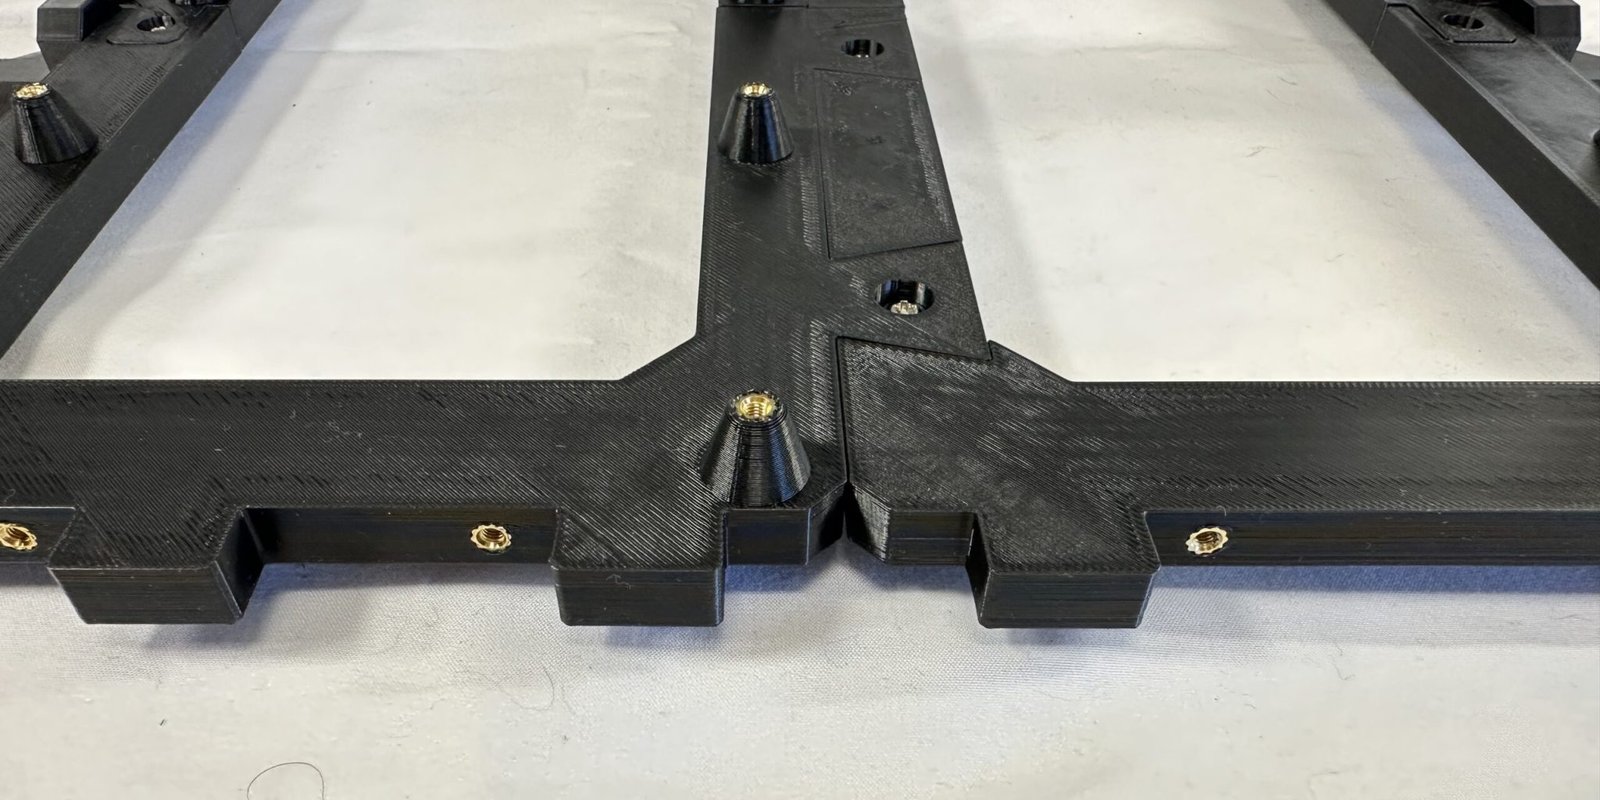
Assemble motherboard shelf

Instructions

Hardware used

3-4× M3 screws

Tip

The 3-4 triangles on one panel should fit well in the sockets of the other panel.

2

STEP 2

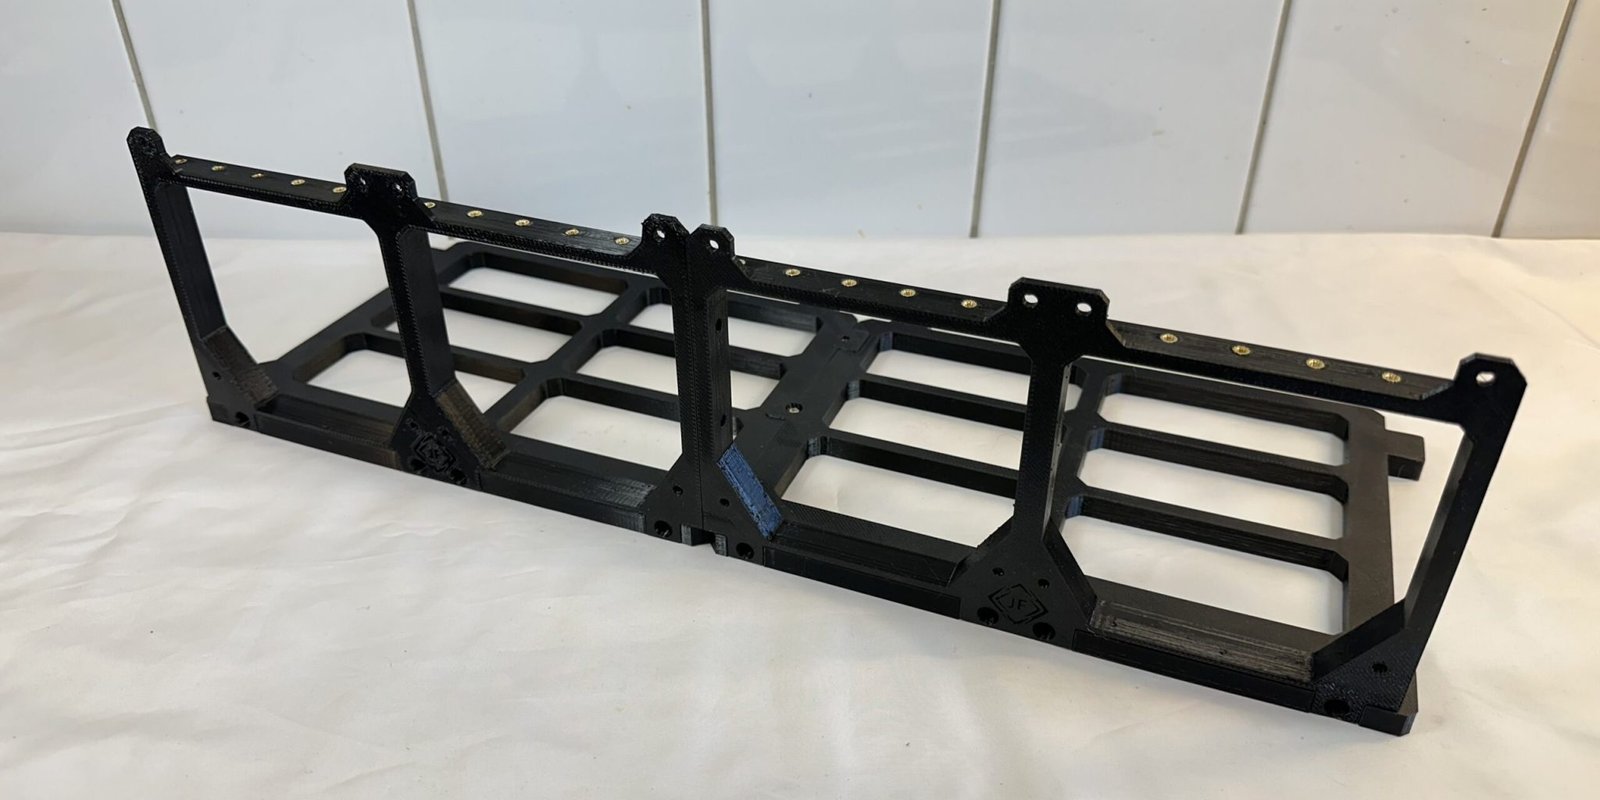
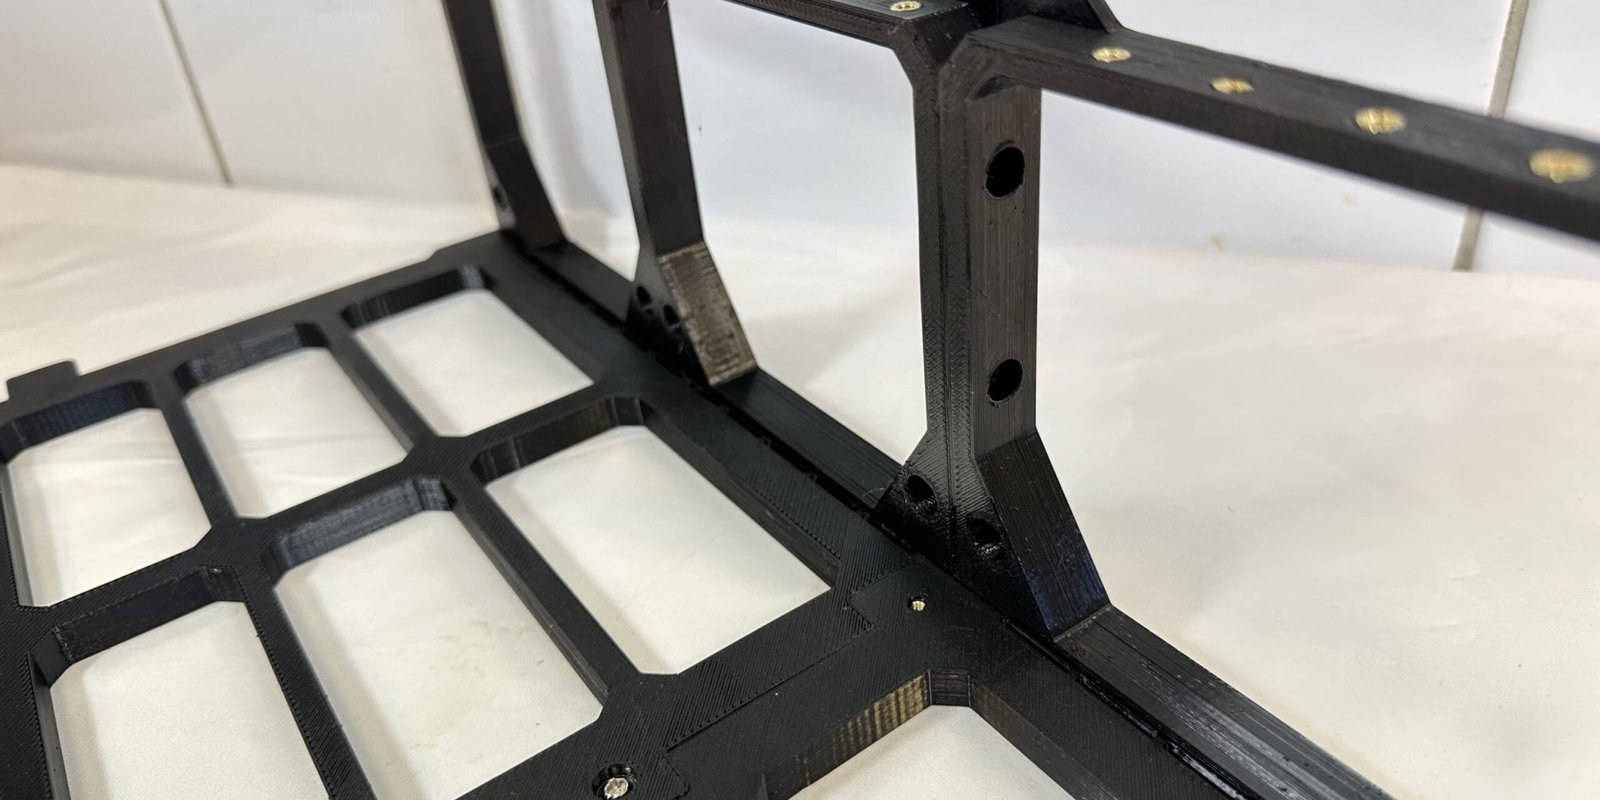
Assemble GPU shelf

IMG_3208
IMG_3209

Instructions

  1. Place the 2x bottom parts of the GPU shelf together and secure them with 3x M3 screws.
  2. Place the 2x top parts together and secure them using 2x M3 screws.
  3. Lastly, place the assembled top parts of the GPU shelf together with the the assembled bottom parts and secure them with 8x M3 screws.

Important!

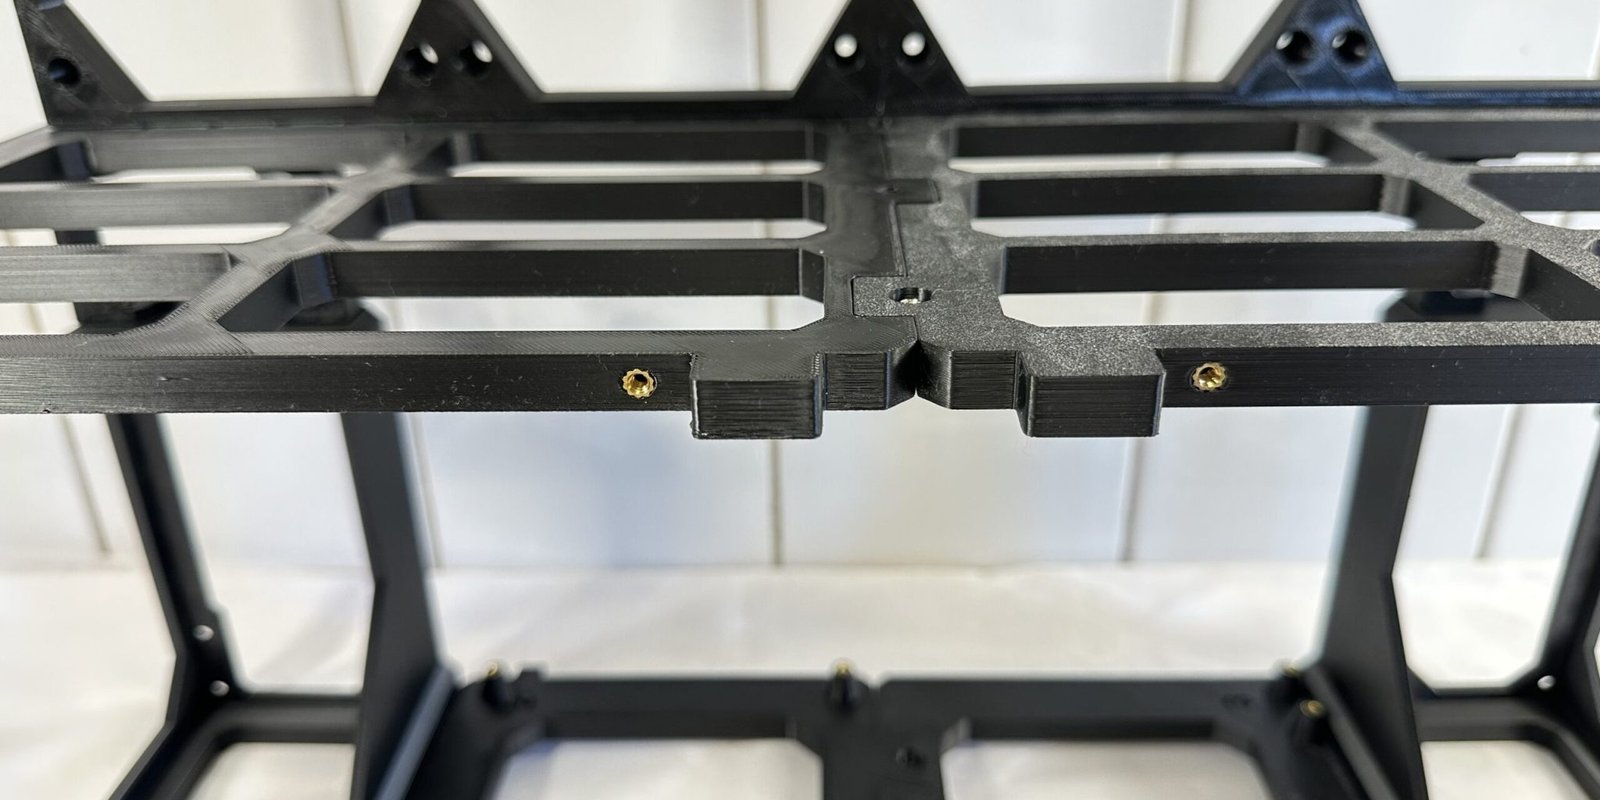
The 2x brass insert on the surface of the bottom part of the GPU shelf have to be pointing downwards after assembly is complete.

Hardware used

13x M3 screws

Tip

The GPU shelf is comprised of 4 different parts: 2x bottom parts & 2x top parts that are connected and secured with M3 screws.

3

STEP 3

Install the PSU mounts

IMG_3629
IMG_3634

Instructions

Hardware used

4x M3 screws

Tip

4

STEP 4

Install the side legs

IMG_3638
IMG_3636

Instructions

  1. Place the side legs against each of the PSU mounts and secure them using M3 screws.

Hardware used

2x M3 screws

Tip

Both side legs are identical.

5

STEP 5

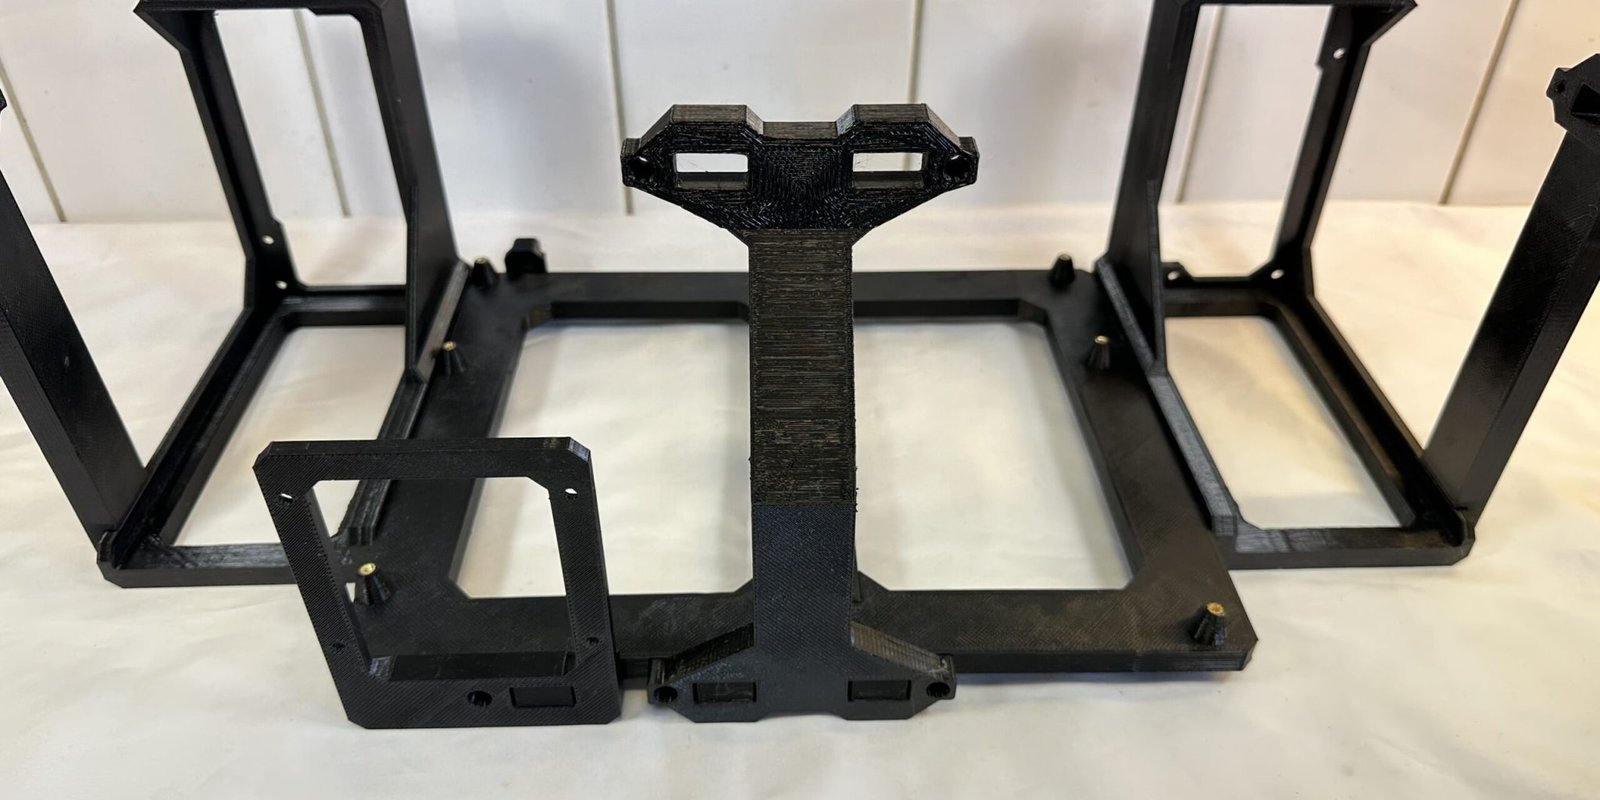
Install the back leg

IMG_3641
IMG_3215

Instructions

  1. Place the back leg’s bracket against the top of the back leg and secure it using a M3 screw.
  2. Install the assembled back leg to the back of the motherboard shelf and secure it using 2x M3 screws.

Hardware used

3x M3 screws

Tip

The back leg’s bracket has to be installed to the back leg before installing it to the GPU shelf. Otherwise you won’t have the necessary mounting points available.

6

STEP 6

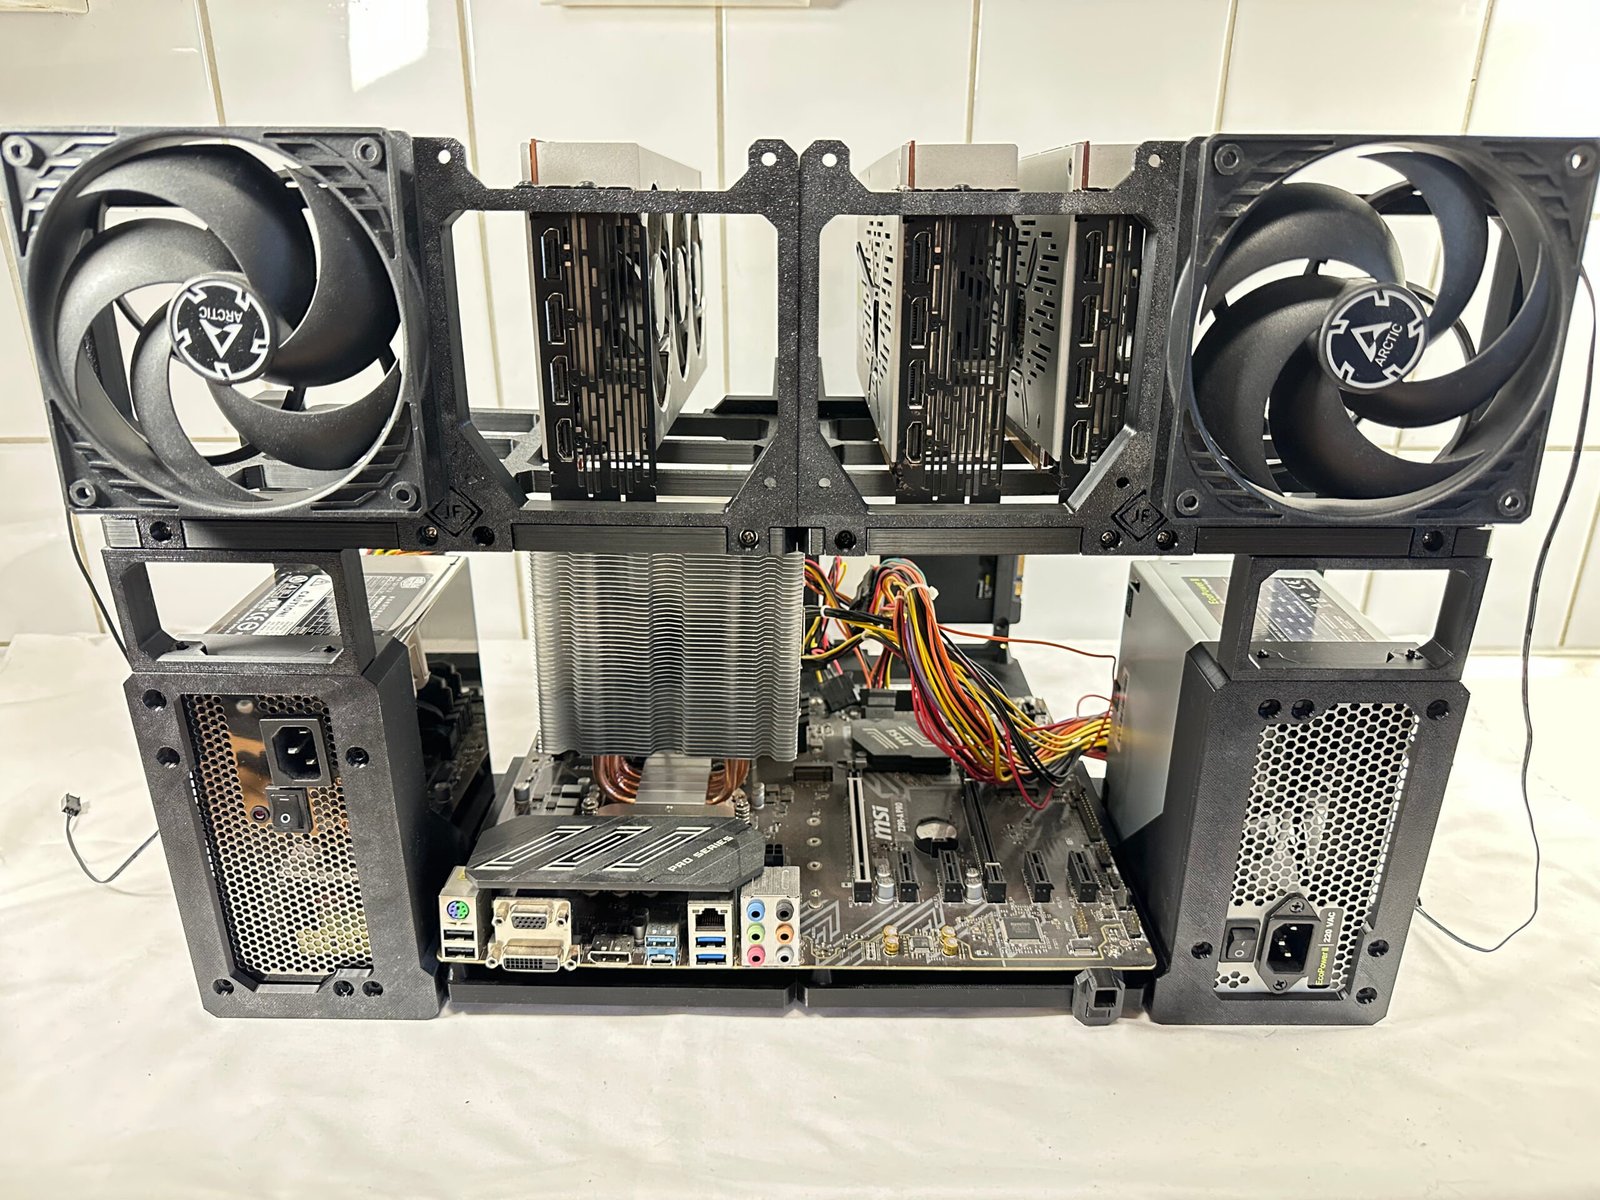
Install the motherboard

Instructions

  1. Secure the motherboard using M3 screws.

Important!

It’s crucial that you cover any of the stand-offs that won’t be used with insulating material before you install the motherboard to the motherboard shelf.

Any stand-offs that isn’t used and not covered properly will most likely cause your motherboard to short out, causing critical damage to it!

Hardware used

9-11x M3 screws

Tip

Orient the rear I/O ports and PCI-e slots on the motherboards to face towards the front when installing.

7

STEP 7

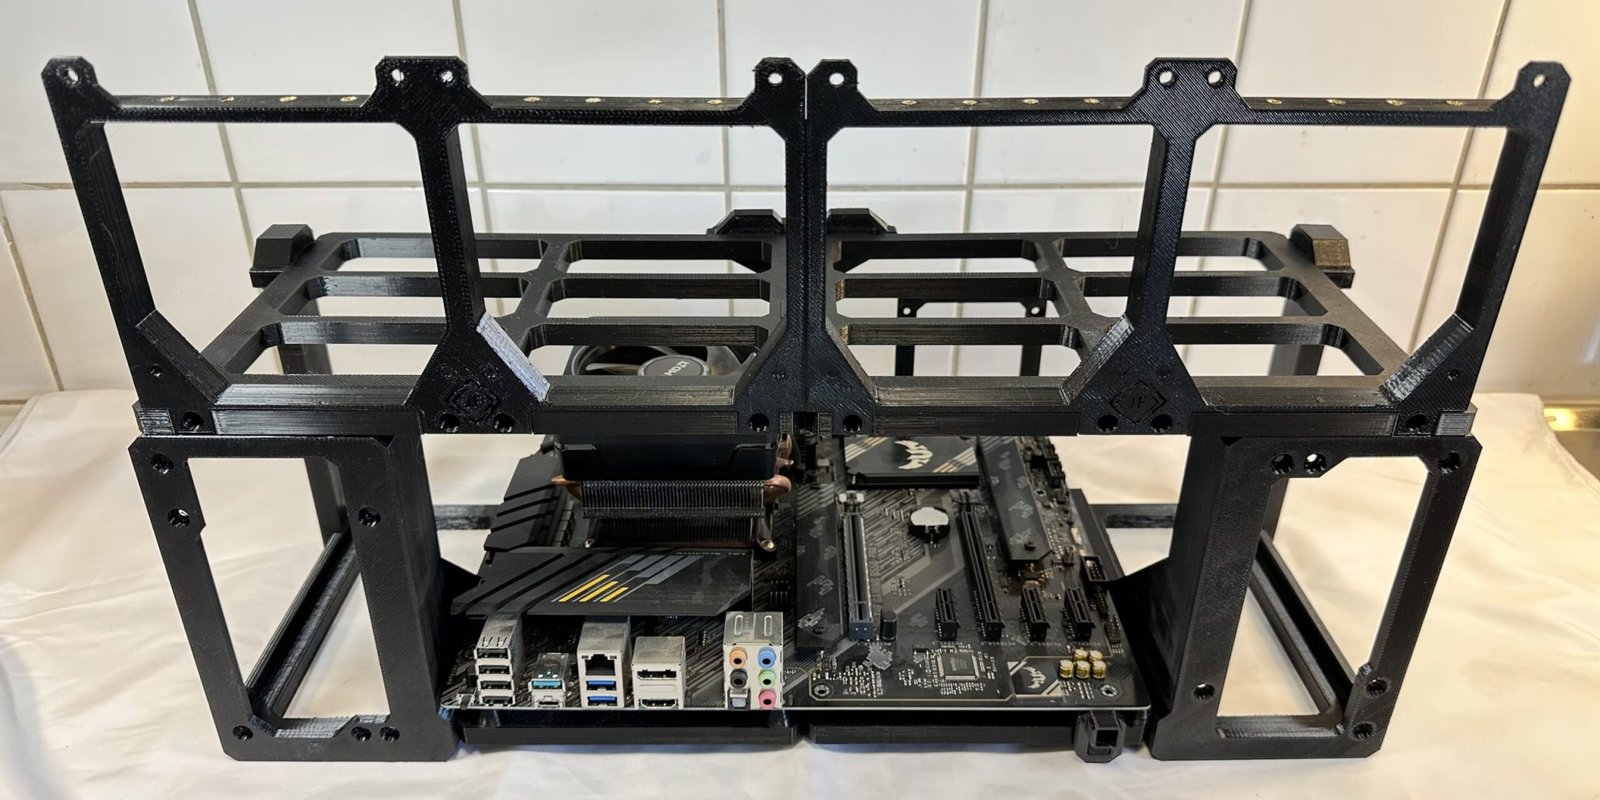
Install the GPU shelf

IMG_3216
IMG_3642

Instructions

  1. Insert the GPU shelf into the side legs and the back leg.
  2. Secure the legs to the GPU shelf using 4x M3 screws.
  3. Secure the PSU mounts using a M3 screw on each mount.

Hardware used

6x M3 screws

Tip

The PSU mounts are secured to the GPU shelf from underneath the GPU shelf.

8

STEP 8

Install PSUs & PCI-e risers

IMG_3218
IMG_3219

Instructions

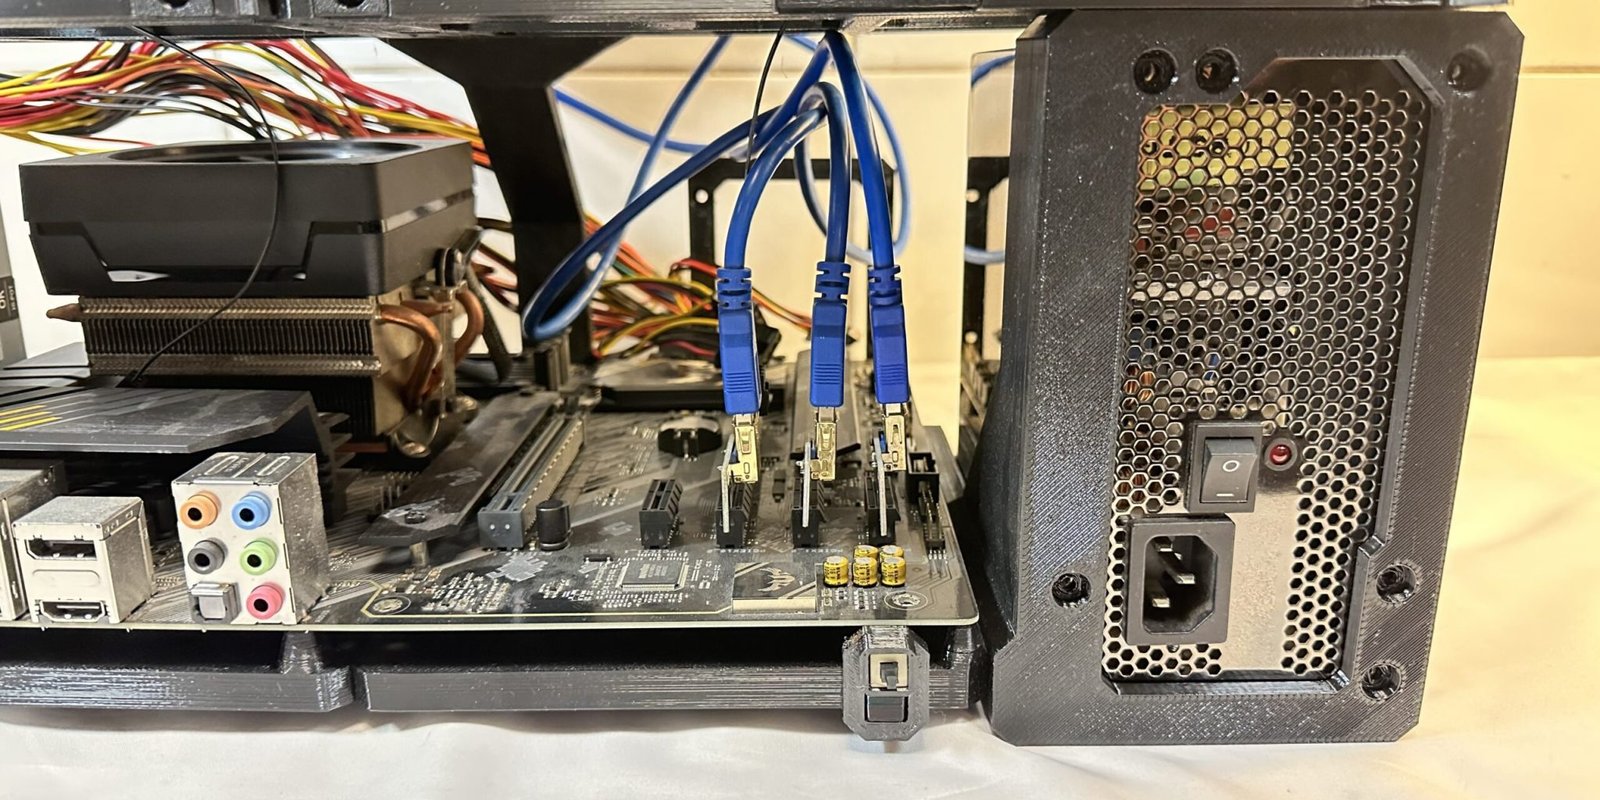
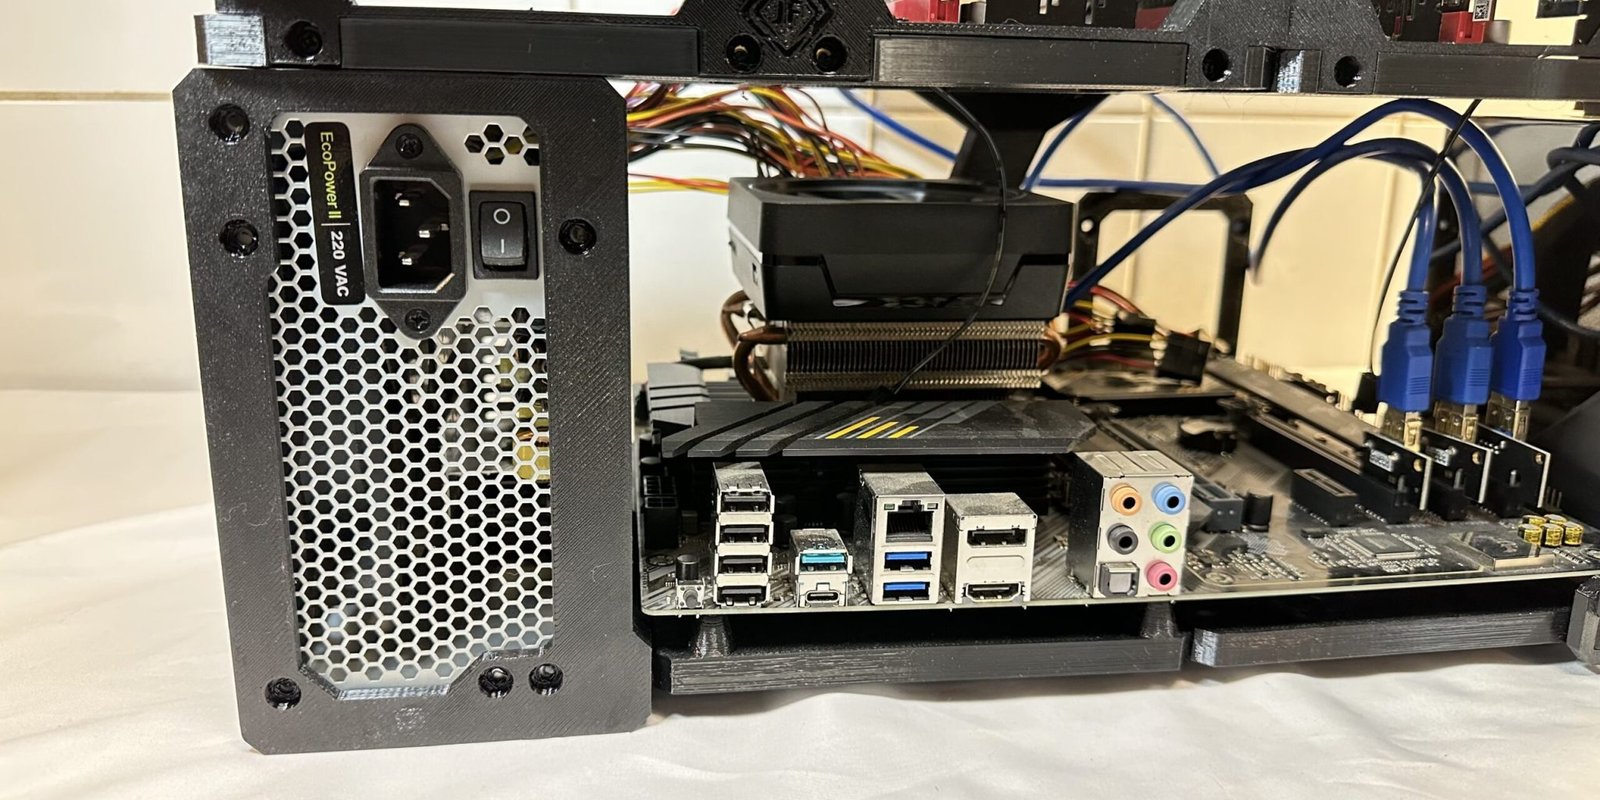
  1. Install your PSUs by inserting them into the PSU mounts.
  2. Secure them using 4x 6/32 screws on each PSU.
  3. Route your power cables to the motherboard and to the GPU shelf.
  4. Install your power cables & PCI-e risers to the motherboard.
  5. Route your PCI-e risers through the slots in the GPU shelf.

Hardware used

8x 6/32 screws

Tip

Make sure to route and clear the remaining power cables from the power supplies and the PCI-e risers before mounting the GPUs.

9

STEP 9

Install GPUs & remaining hardware

IMG_3646
IMG_3222
IMG_3218

Instructions

Fans:

  1. Align each of your 120mm fans to its mounting points on the GPU shelf’s frontside.
  2. Secure each one of them using fan screws from the backside of the GPU shelf.
  3. Route the cables from the fans and connect them to the motherboard.

GPUs:

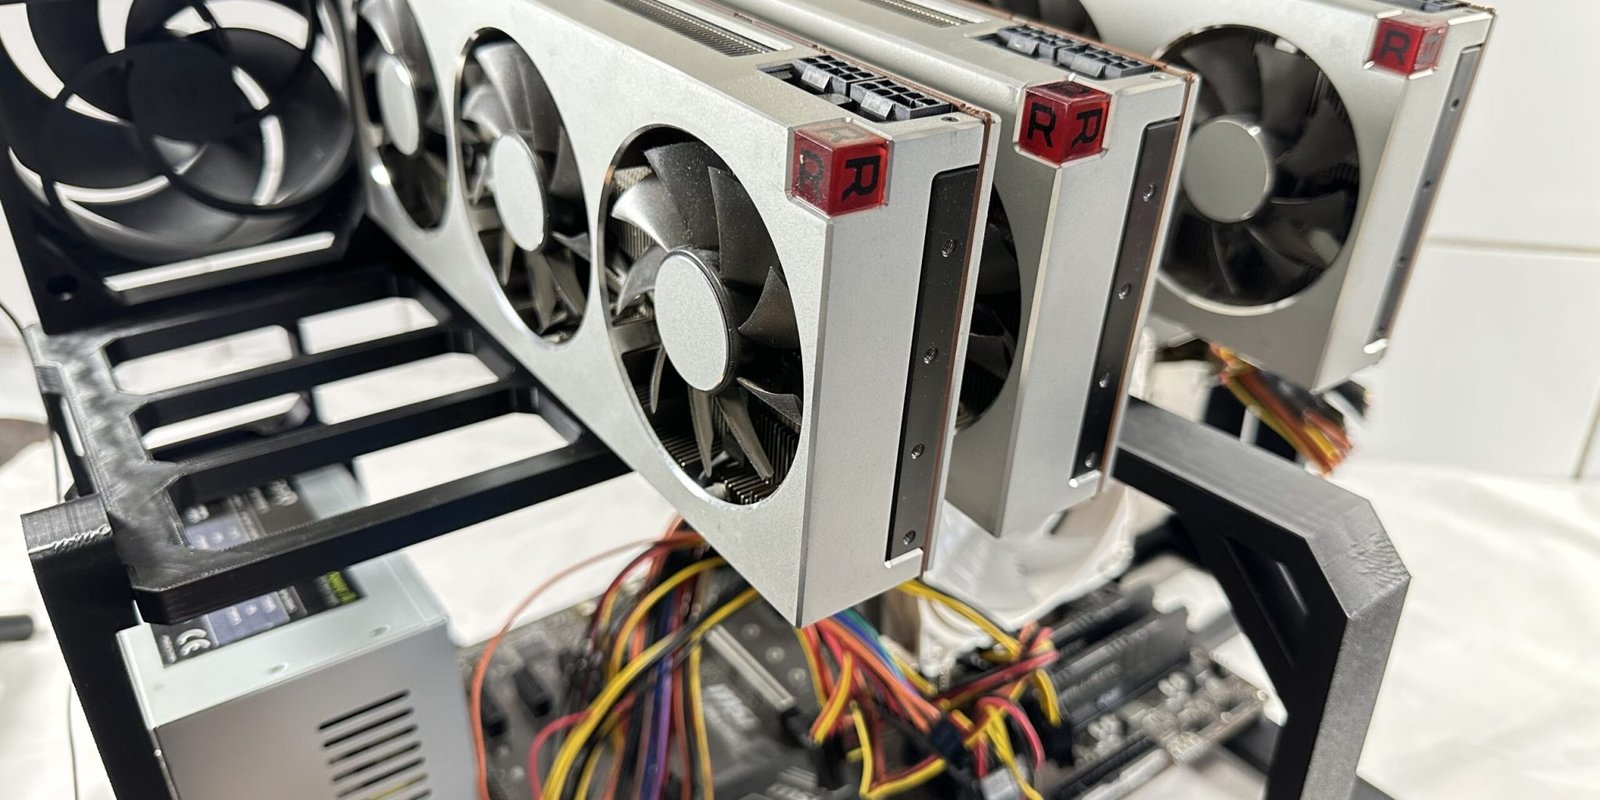
  1. Insert a GPU into each of the risers.
  2. Secure the GPU to the  railing of the GPU shelf using M3 screws.
  3. Connect a power cable into each GPU to power them.

Power switch:

  1. Insert the power switch into the little power switch holder by threading the cable all the way through the holder’s socket.
  2. Clip the holder on to the little attachment at the front of the workbench.
  3. Connect the power switch to the motherboard.

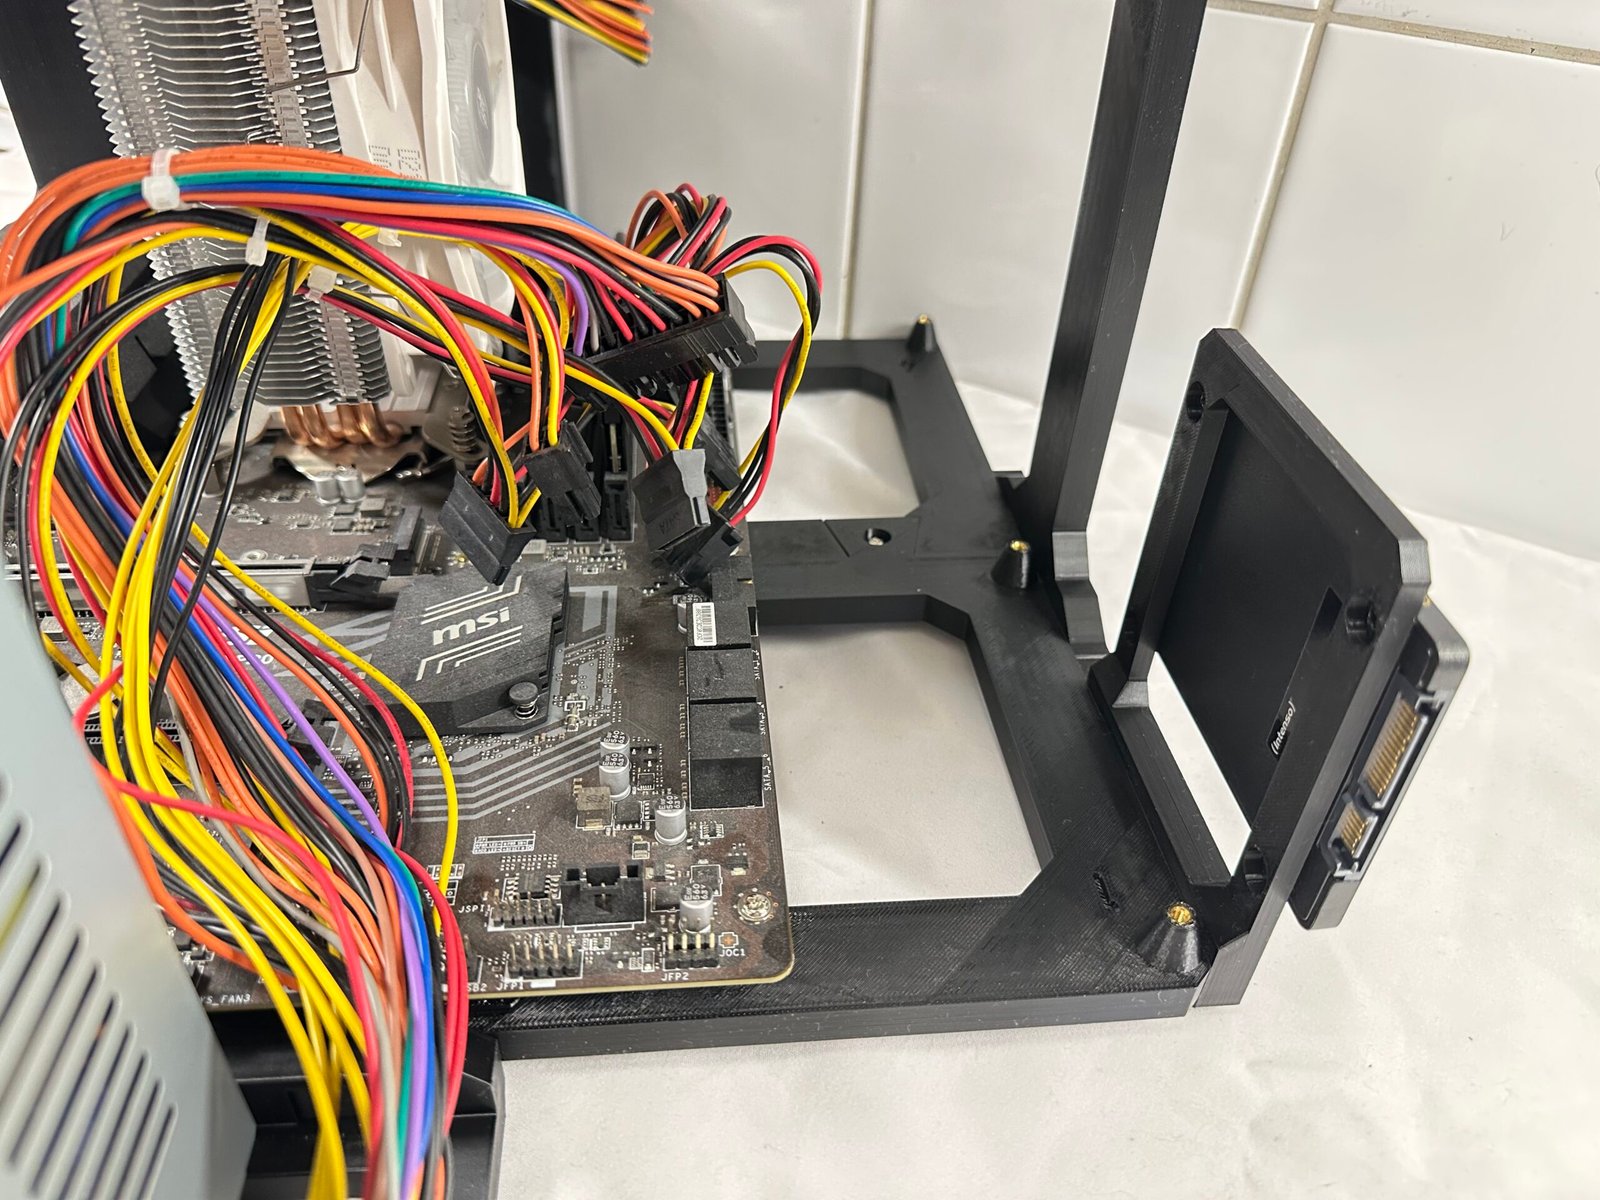
(Optional) SSD:

  1. Align the SSD with the screw holes on the SSD holder.
  2. Secure it with M3 screws from the opposite side of the holder.
  3. Mount the holder with the SSD attached to the motherboard shelf.
  4. Secure the assembly with a M3 screw.
  5. Connect the necessary cables to the SSD.

Hardware used

1-18x M3 screws
1-16x Fan screws (not included)

Tip

  • Install the fans before installing the GPUs to the workbench.
  • Keep a sufficient distance between each GPU to sustain a healthy amount of airflow to each GPU for cooling them properly.
  • The SSD’s installation point is marked with “SSD” on the motherboard shelf.
FINAL CHECKPOINT

Inspect the complete assembly

  • All frame screws are evenly tightened.
  • PSUs & SSD are securely mounted and ventilated.
  • The motherboard and GPU are fully supported.
  • The power button, GPUs, PSUs, SSD & are connected correctly.
  • No cables are touching any fans or sharp edges.
SUPPORT

Need help with your assembly?

Is the instruction wrong or misleading? Perhaps you have a suggestion? We’d be delighted to hear from you regardless!

SUPPORT URL

Contact us using the form at our Contact page.

SUPPORT MAIL

Reach out to us by sending us an email.

Designed to Perform. Built to Impress.